Easy, quick and free valid SSL certificates for your homelab using DuckDNS and ACME DNS-01
2023-05-13
If you're running local web applications in your homelab, chances are, you're accessing them with a combination of an IP address and a port (e.g. http://192.168.1.32:8096 for Jellyfin).
However, at some point, you might get tired of memorizing IP addresses, so you'll switch to a combination of a reverse proxy and local domain names, such as https://jellyfin.local or https://homeassistant.local.
After doing that, you'll quickly notice that you get a browser warning every time you visit your applications. Annoying.
So what are some possible solutions?
- Create a local CA, generate your own certificates and trust them on every device that you browse the Internet on.
- Add an exception for every application in your homelab on every device.
- Just ignore it.
However, these solutions are half-measures at best, and a pain in the ass at worst. There's an infinitely better way to serve your local web applications with pretty domain names and valid SSL certificates, and it involves an SSL certificate verification method called DNS-01
How does it work?
Here's a very simplified explanation of how Let's Encrypt handles certificate validation and generation.
In order to generate a Let's Encrypt certificate, we would usually let certbot spin up a temporary web server on the machine that we'll be generating the certificate for. Then, the Let's Encrypt validation servers try to access a secret code stored on that temporary server, and if that works, we get our certificate. This method is called HTTP-01.
One of the big limitations of HTTP-01 is that the machine that the certificates are being generated for has to be publicly accessible for the validation servers to reach it. Moreover, the domain that we're generating certificates for has to resolve to the IP address of the machine.
DNS-01 helps us circumvent these limitations by using a special DNS record to verify domain ownership, instead of directly "talking" to the machine that we're generating certificates for. And as an added bonus, DNS-01 lets us generate wildcard certificates for our domains. Which means that if we have multiple applications with subdomains like jellyfin.homelab.xyz, homeasssistant.homelab.xyz, proxmox.homelab.xyz, we won't need to specify them one-by-one in our certificate request. Instead, we can generate a certificate for *.homelab.xyz, which will be valid for all subdomains on the same level. Neat!
What will I need?
Domain name
In my opinion, DuckDNS is the best free option for this method. It's very easy to set up and doesn't require registration (you can simply log in with your GitHub account). The only downside is that the resulting domain names will be pretty long, e.g. jellyfin.homelab.duckdns.org.
If this is a deal breaker for you, you can buy a shorter domain name on websites like Namecheap, GoDaddy or Google Domains. Just make sure that your domain registar supports Let's Encypt DNS-01 validation. Many domains are sold for as little as $0.90, but pay attention to renewal fees: those can be as high as $40-50.
In this example, we'll be using DuckDNS.
Reverse proxy
We will also need a reverse proxy application. I will be using Nginx Proxy Manager, because it's easy to set up and supports Let's Encrypt DNS validation.
However, Nginx Proxy Manager is not the only reverse proxy server that supports DNS-01, and there are many other good alternatives, such as Traefik, Caddy or Linuxserver.io's SWAG.
OS
Last but not least, I'll be running Debian 11, but this tutorial should work on any deb-Based operating system (e.g. Ubuntu)
Installing Docker
Install dependencies:
Then, add the Docker repository key:
|
Afterwards, add the Docker APT repository. Make sure to replace amd64 with arm64 if you're running this on an ARM-based CPU.
|
Finally, install Docker and docker-compose with the following commands:
If you're running as a non-root user, you might need to add your user to the docker group using the following command:
Then, log out and then log back in again for the changes take effect.
Setting up the reverse proxy
I'll be running Nginx Proxy Manager, as well as Jellyfin, Home Assistant and Nextcloud, using the following docker-compose.yml file:
version: '2.2'
services:
  nginxproxymanager:
    image: 'jc21/nginx-proxy-manager:latest'
    container_name: nginxproxymanager
    restart: unless-stopped
    ports:
      - '80:80'
      - '81:81'
      - '443:443'
    volumes:
      - ./nginx/data:/data
      - ./nginx/letsencrypt:/etc/letsencrypt

  nextcloud:
    image: lscr.io/linuxserver/nextcloud:latest
    container_name: nextcloud
    environment:
      - PUID=1000
      - PGID=1000
      - TZ=Europe/Berlin
    volumes:
      - ./nextcloud/appdata:/config
      - ./nextcloud/data:/data
    restart: unless-stopped

  homeassistant:
    image: lscr.io/linuxserver/homeassistant:latest
    container_name: homeassistant
    environment:
      - PUID=1000
      - PGID=1000
      - TZ=Europe/Berlin
    volumes:
      - ./hass/config:/config
    restart: unless-stopped

  jellyfin:
    image: lscr.io/linuxserver/jellyfin:latest
    container_name: jellyfin
    environment:
      - PUID=1000
      - PGID=1000
      - TZ=Europe/Berlin
    volumes:
      - ./jellyfin/config:/config
      - ./jellyfin/tvshows:/data/tvshows
      - ./jellyfin/movies:/data/movies
    restart: unless-stopped
You can also find an example docker-compose snippet on Nginx Proxy Manager's GitHub page
After creating the docker-compose.yml file, we can now launch our Compose stack by running docker-compose up -d.
Wait until all the containers have been started, then navigate to http://server-ip:81 in your browser
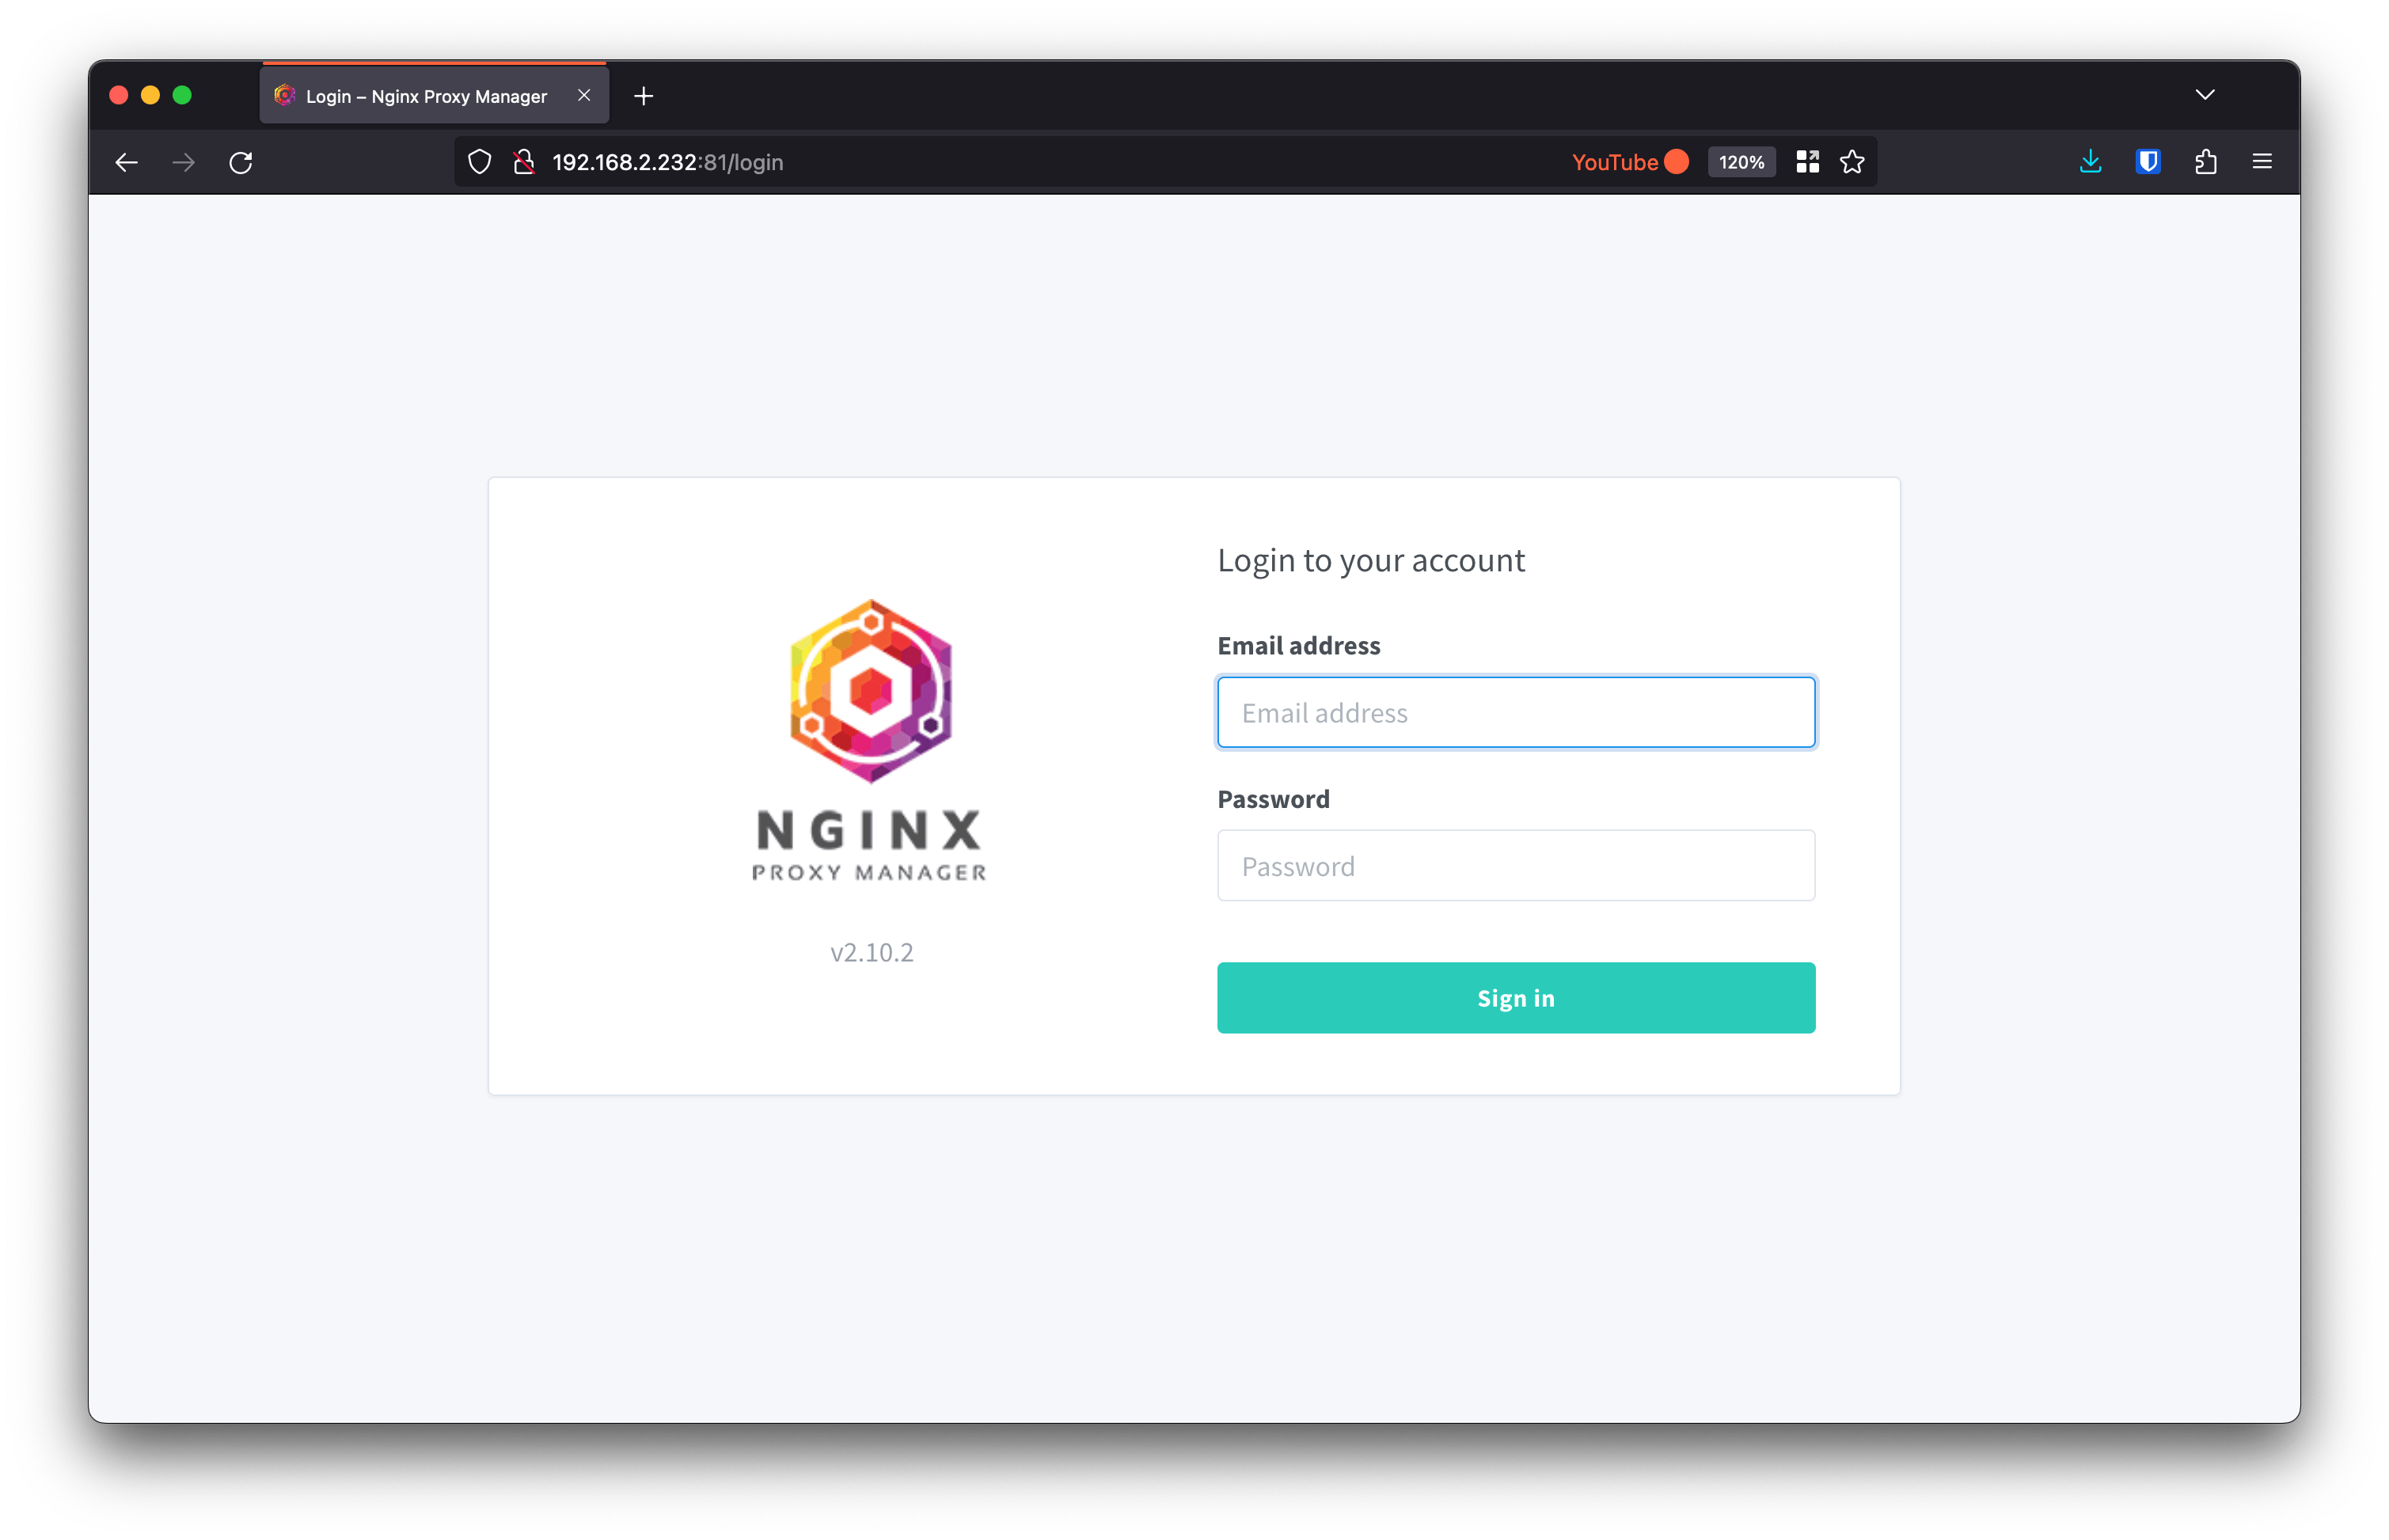
The default credentials are admin@example.com and changeme. You will be asked to change them after the first log in.
Before generating the certificate, we need to set up the domain name.
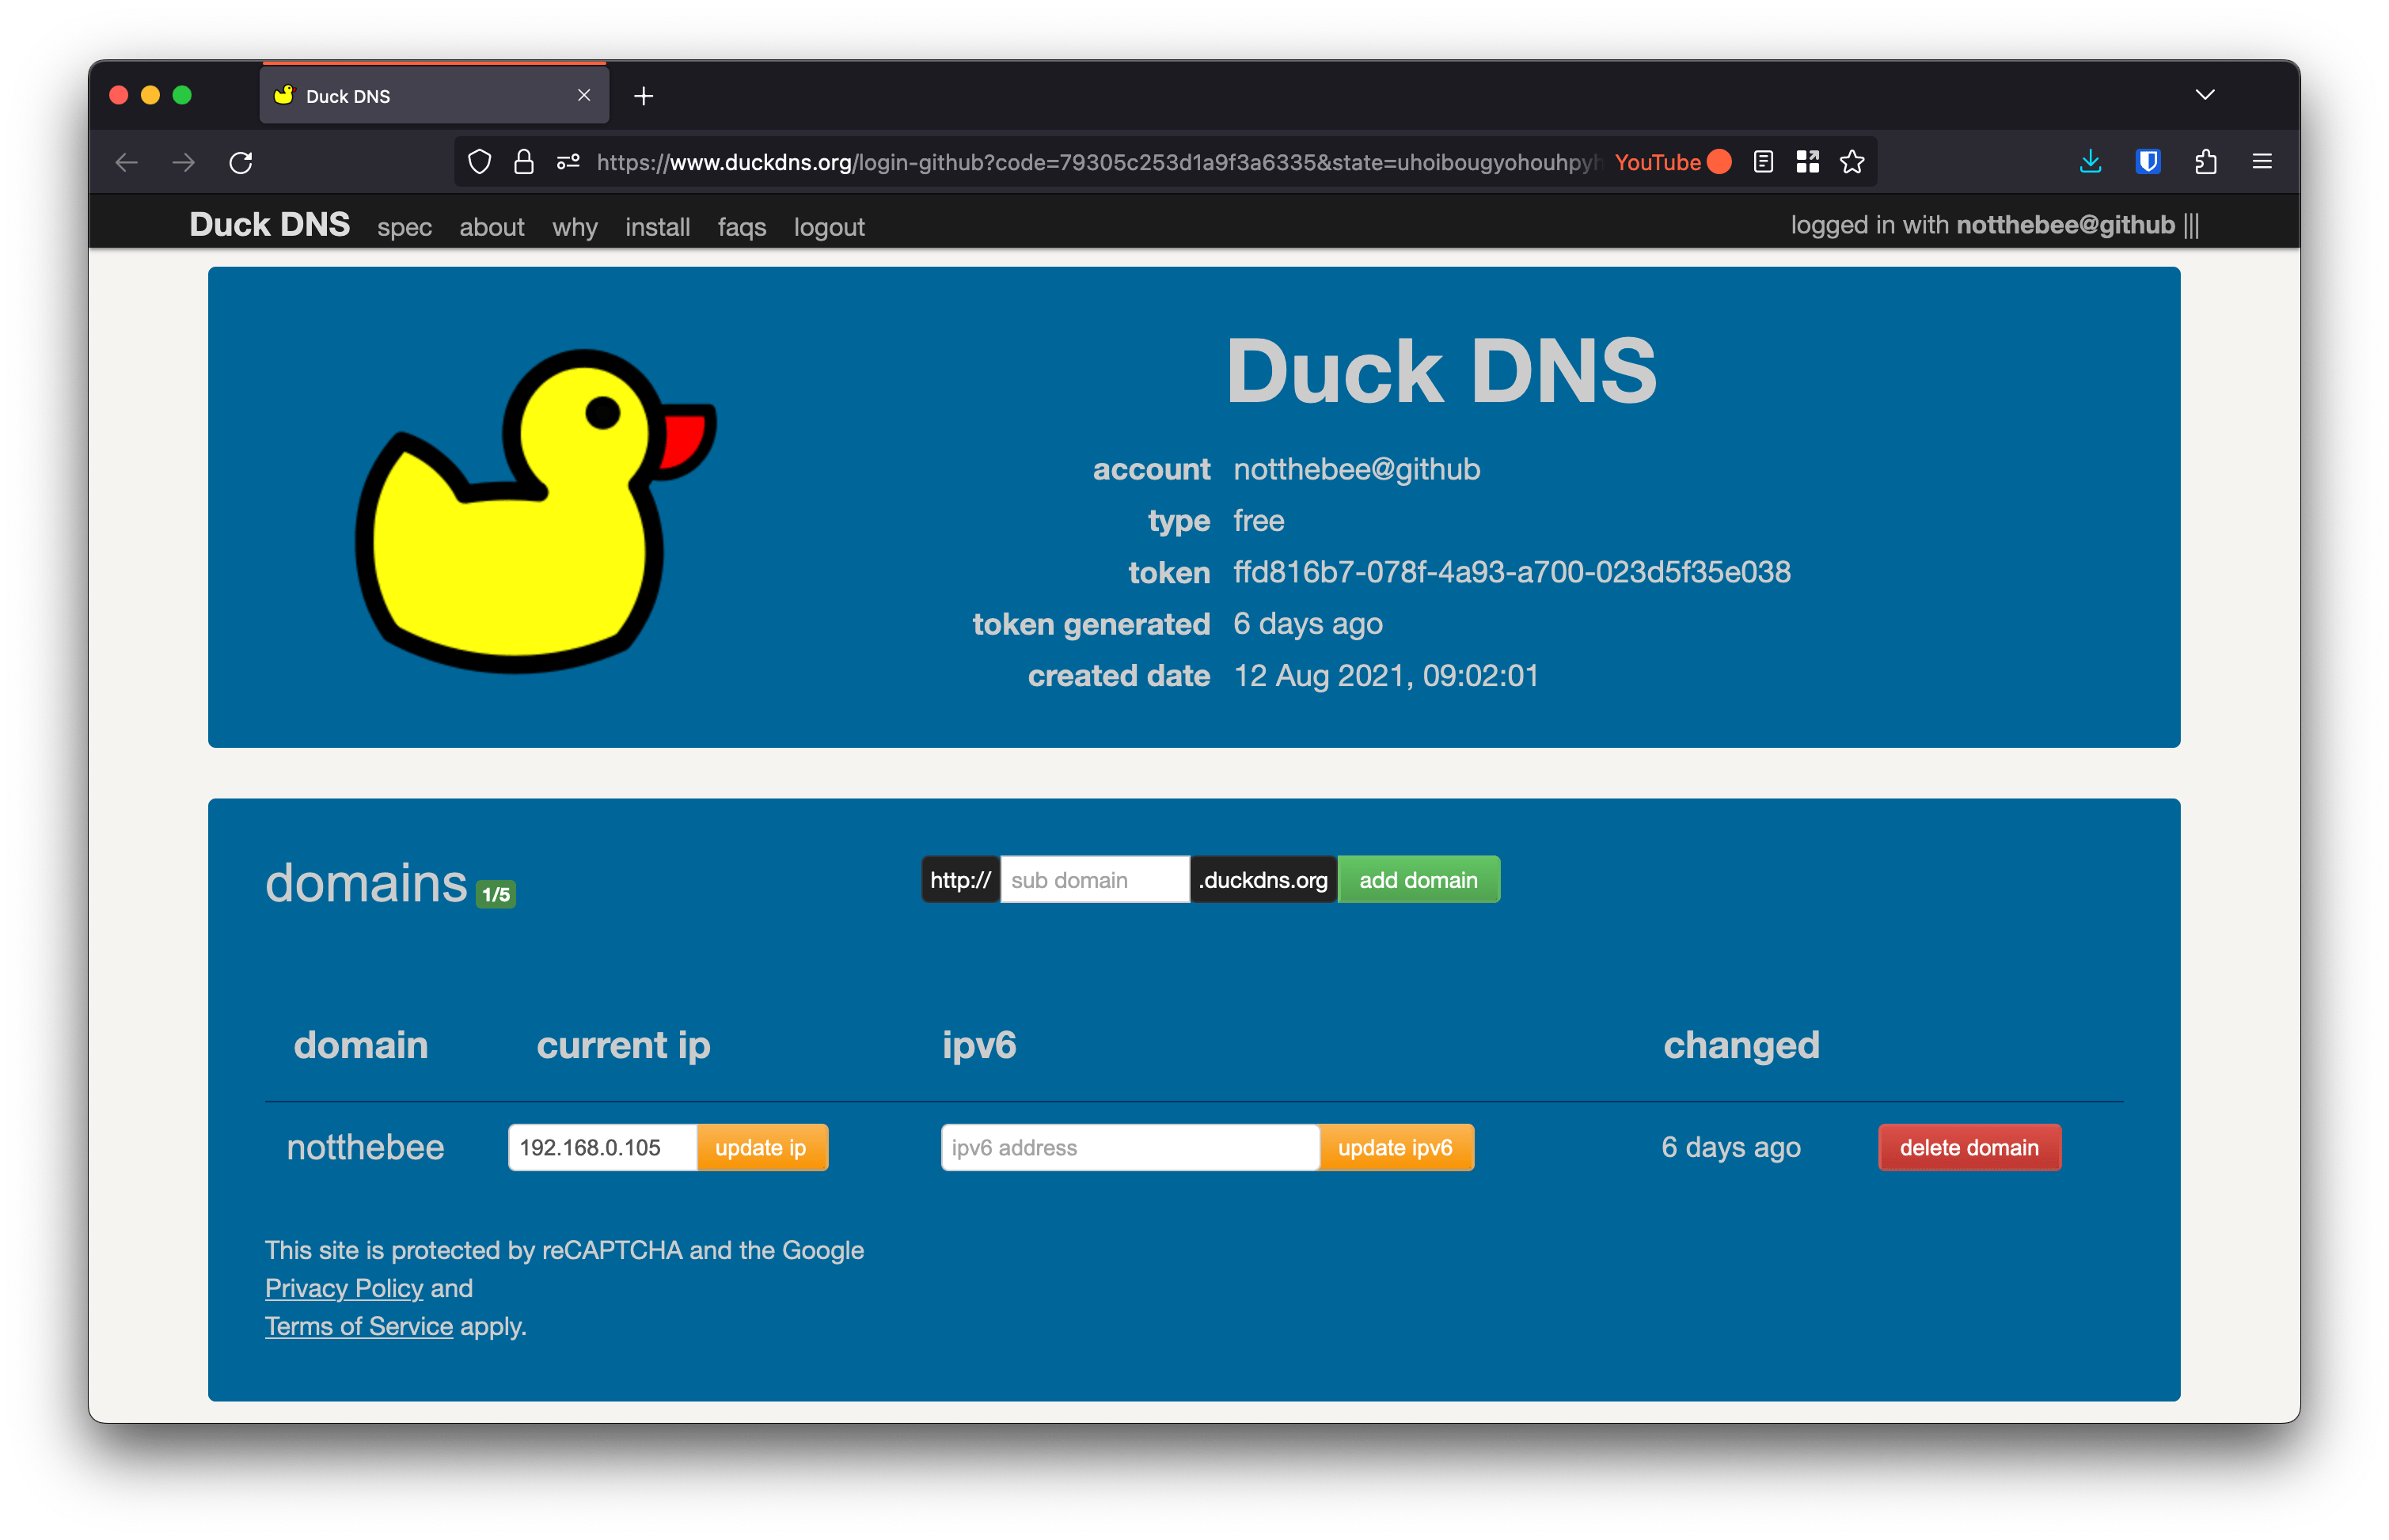
Go to DuckDNS and log in with your account.
Create a new domain and point it to the local IP address of your reverse proxy (e.g. 192.168.0.105):
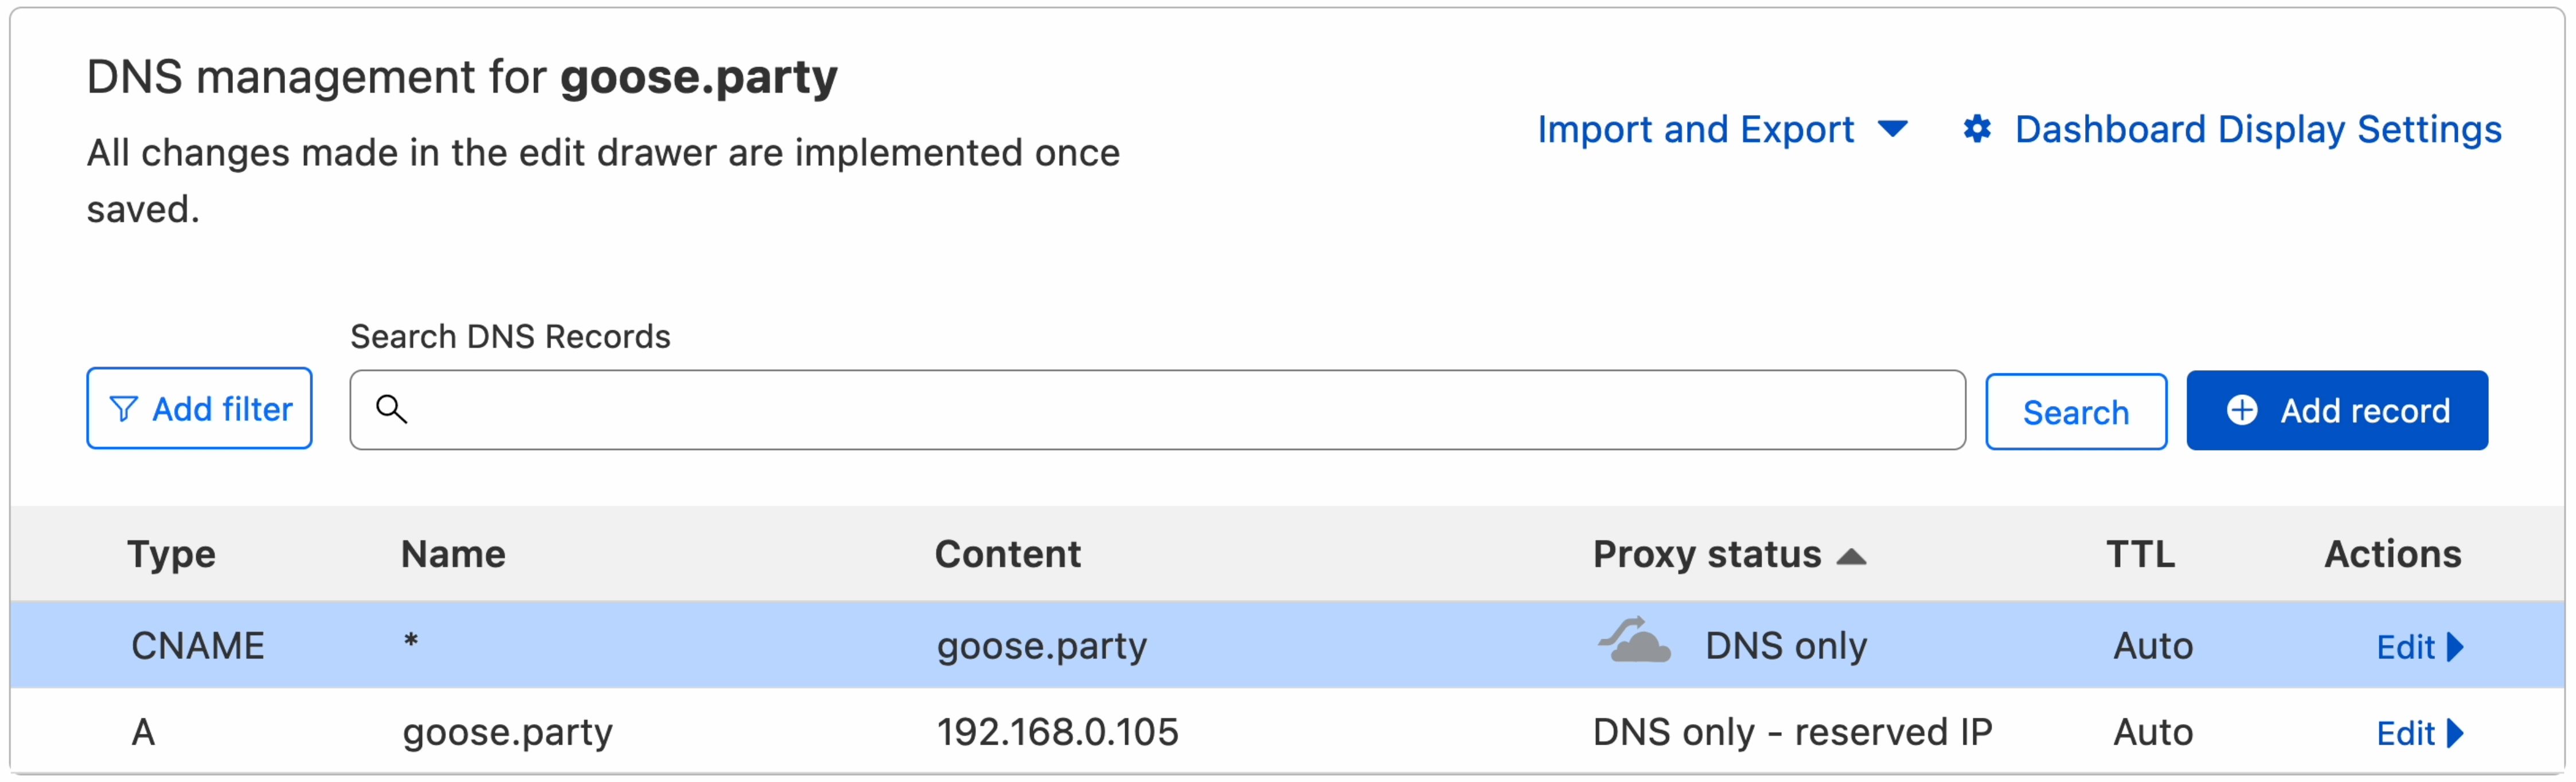
If you're using a different DNS provider, you will also need to create a separate CNAME record pointing to the domain root, in case you want to generate a wildcard certificate for the subdomains:
In the Nginx Proxy Manager's WebUI, go to SSL Certificates, and click "Add SSL Certificate".
Here, input your main domain name (e.g. homelab.duckdns.org), as well as the wildcard record for all the subdomains (e.g. *.homelab.duckdns.org).
Click on "Use a DNS Challenge" and select "DuckDNS" from the list of providers.
Go back to DuckDNS and copy your API token. Paste the token into the "Credentials File Contents" textbox.
Additionally, you might want to set the "Propagation Seconds" parameter to 120 seconds. The default value is 30 sec., however, sometimes this is not enough for the DNS changes to propagate.

Finally, agree to Let's Encrypt Terms of Service and click on "Save".
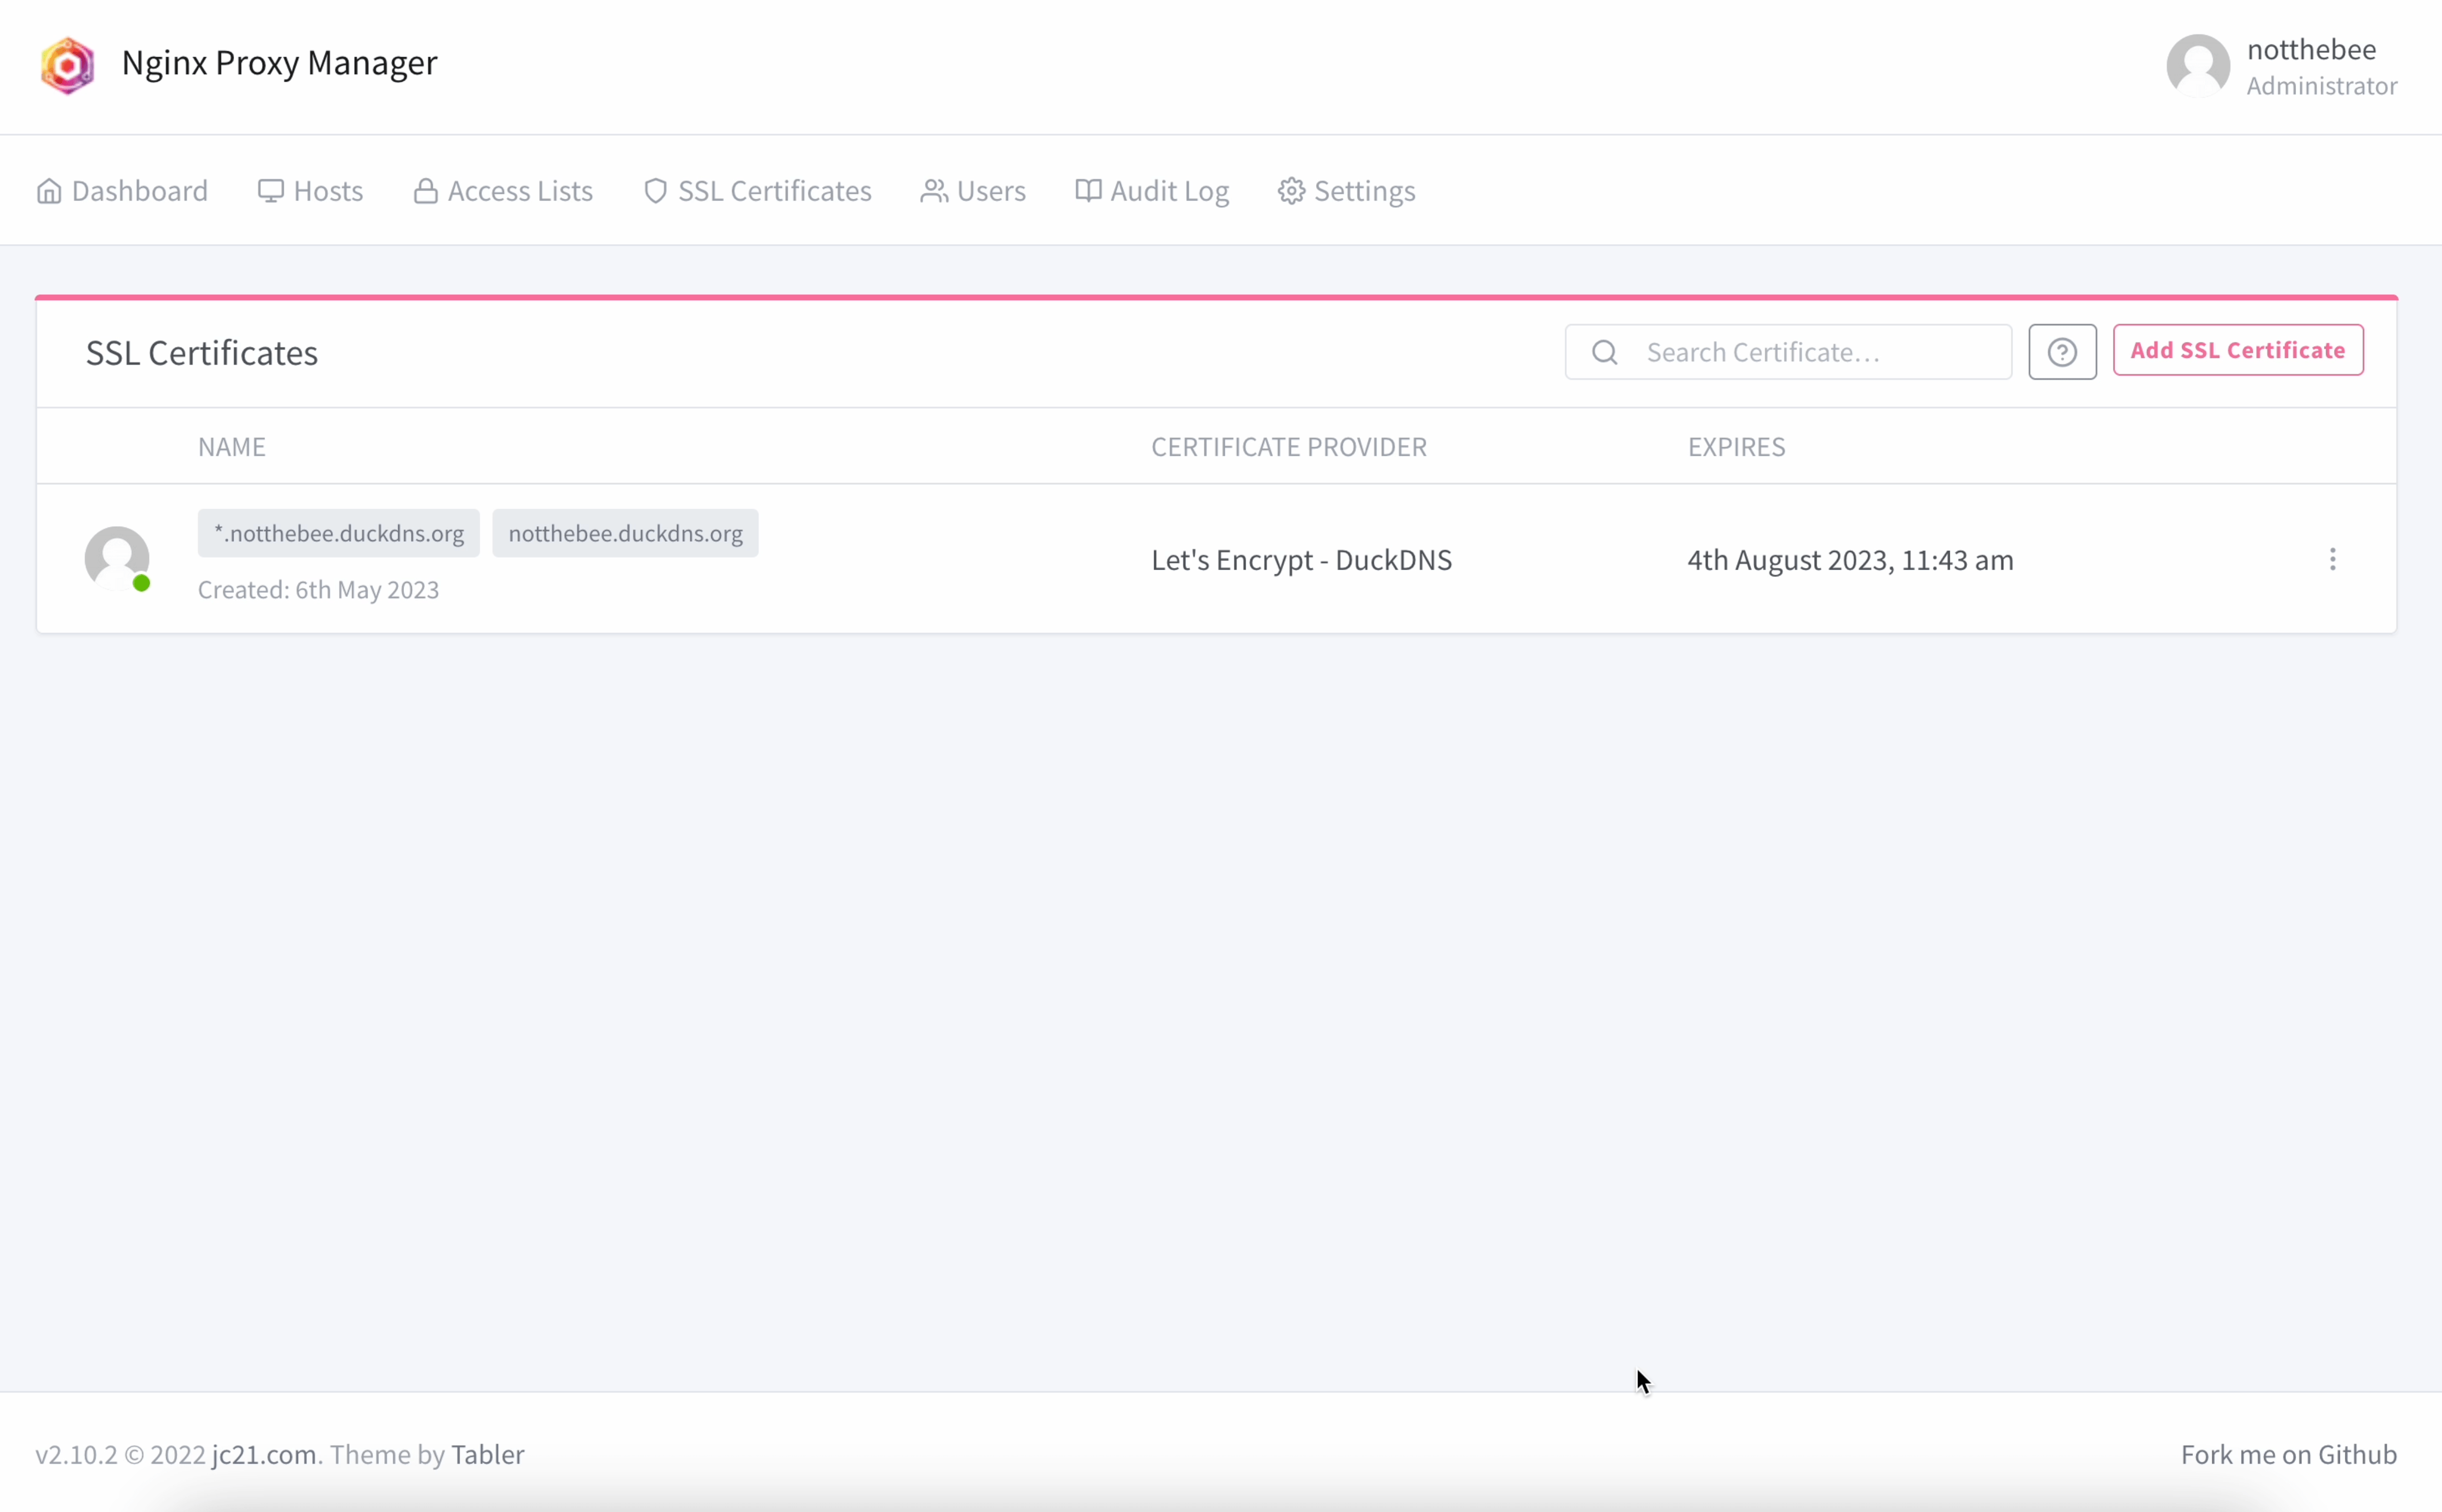
If you did everything correctly, you should now see your generated certificate:
Adding a proxy entry
Let's add our first proxy entry for the Nginx Proxy Manager itself. This will let us access it by going to htts://notthebee.duckdns.org.
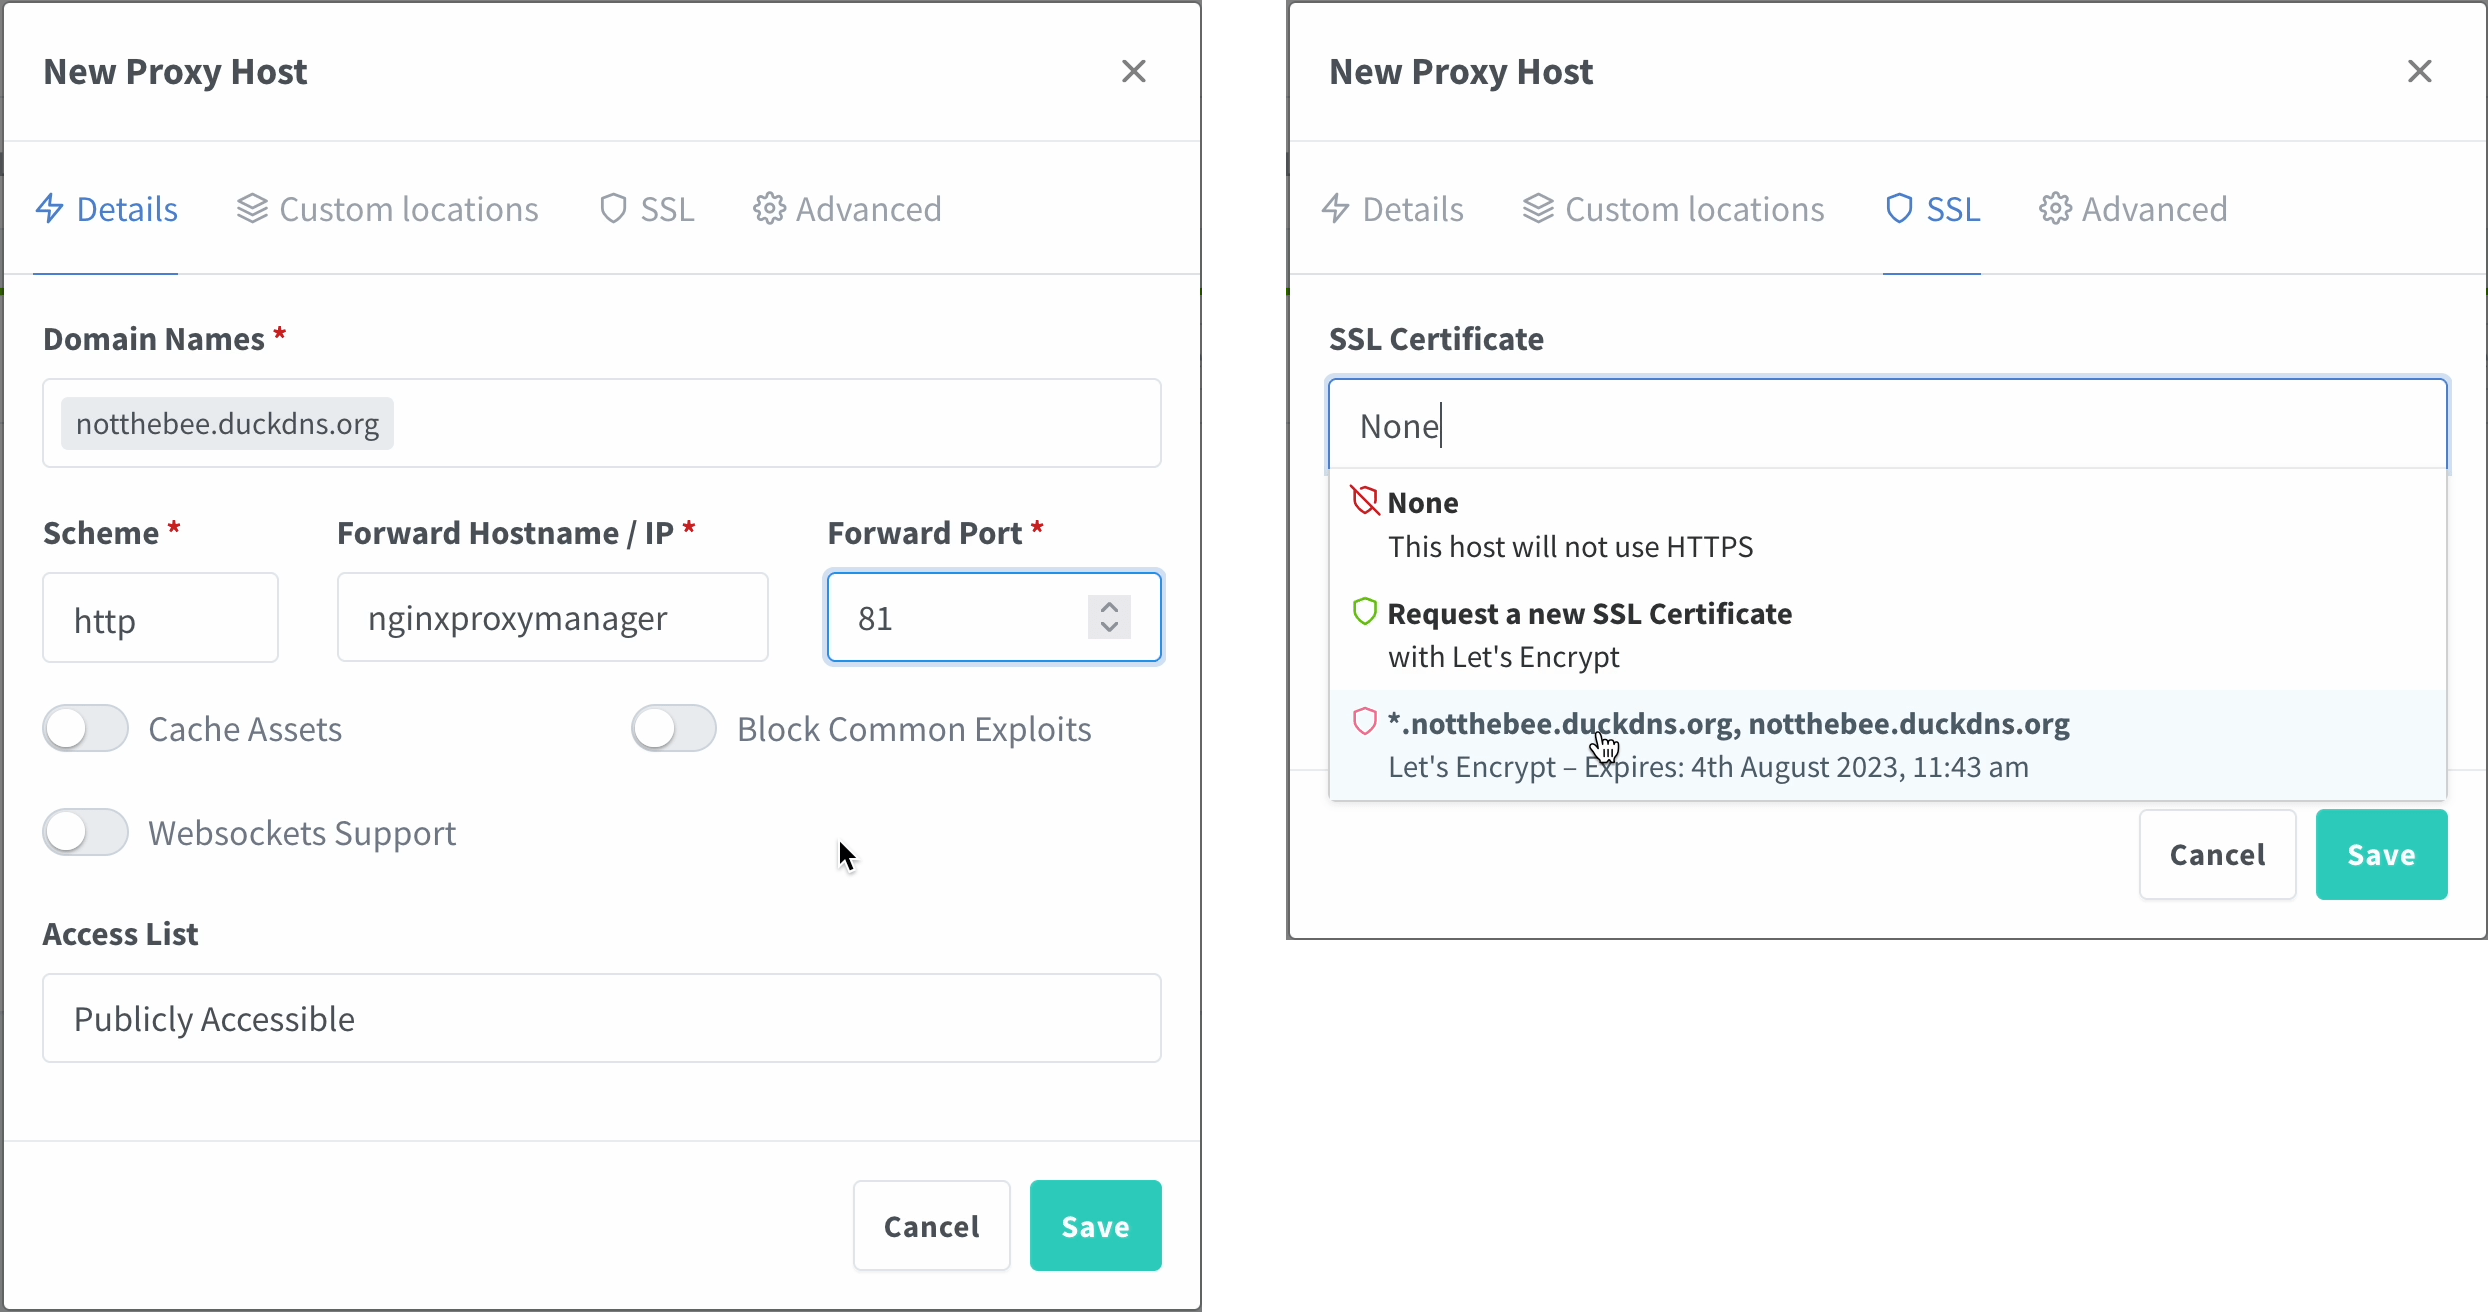
In the top menu bar, click on Hosts > Proxy Hosts, and then click on "Add a Proxy Host". I will use the following parameters:
- Domain Names: notthebee.duckdns.org
- Scheme: http
- Forward Hostname / IP: nginxproxymanager (more on that below)
- Forward Port :81
If all of your applications are on the same Docker network (e.g. if you're using a single docker-compose.yml file), you can use their respective container names (container_name parameter) here instead of the IP (in this case, nginxproxymanager).
When it comes to other parameters, feel free to enable them if you know that the application that you're proxying supports/requires them.
Afterwards, go to the SSL tab and choose the certificate that we've generated in the previous step. Enable Force SSL and HTTP/2 support.
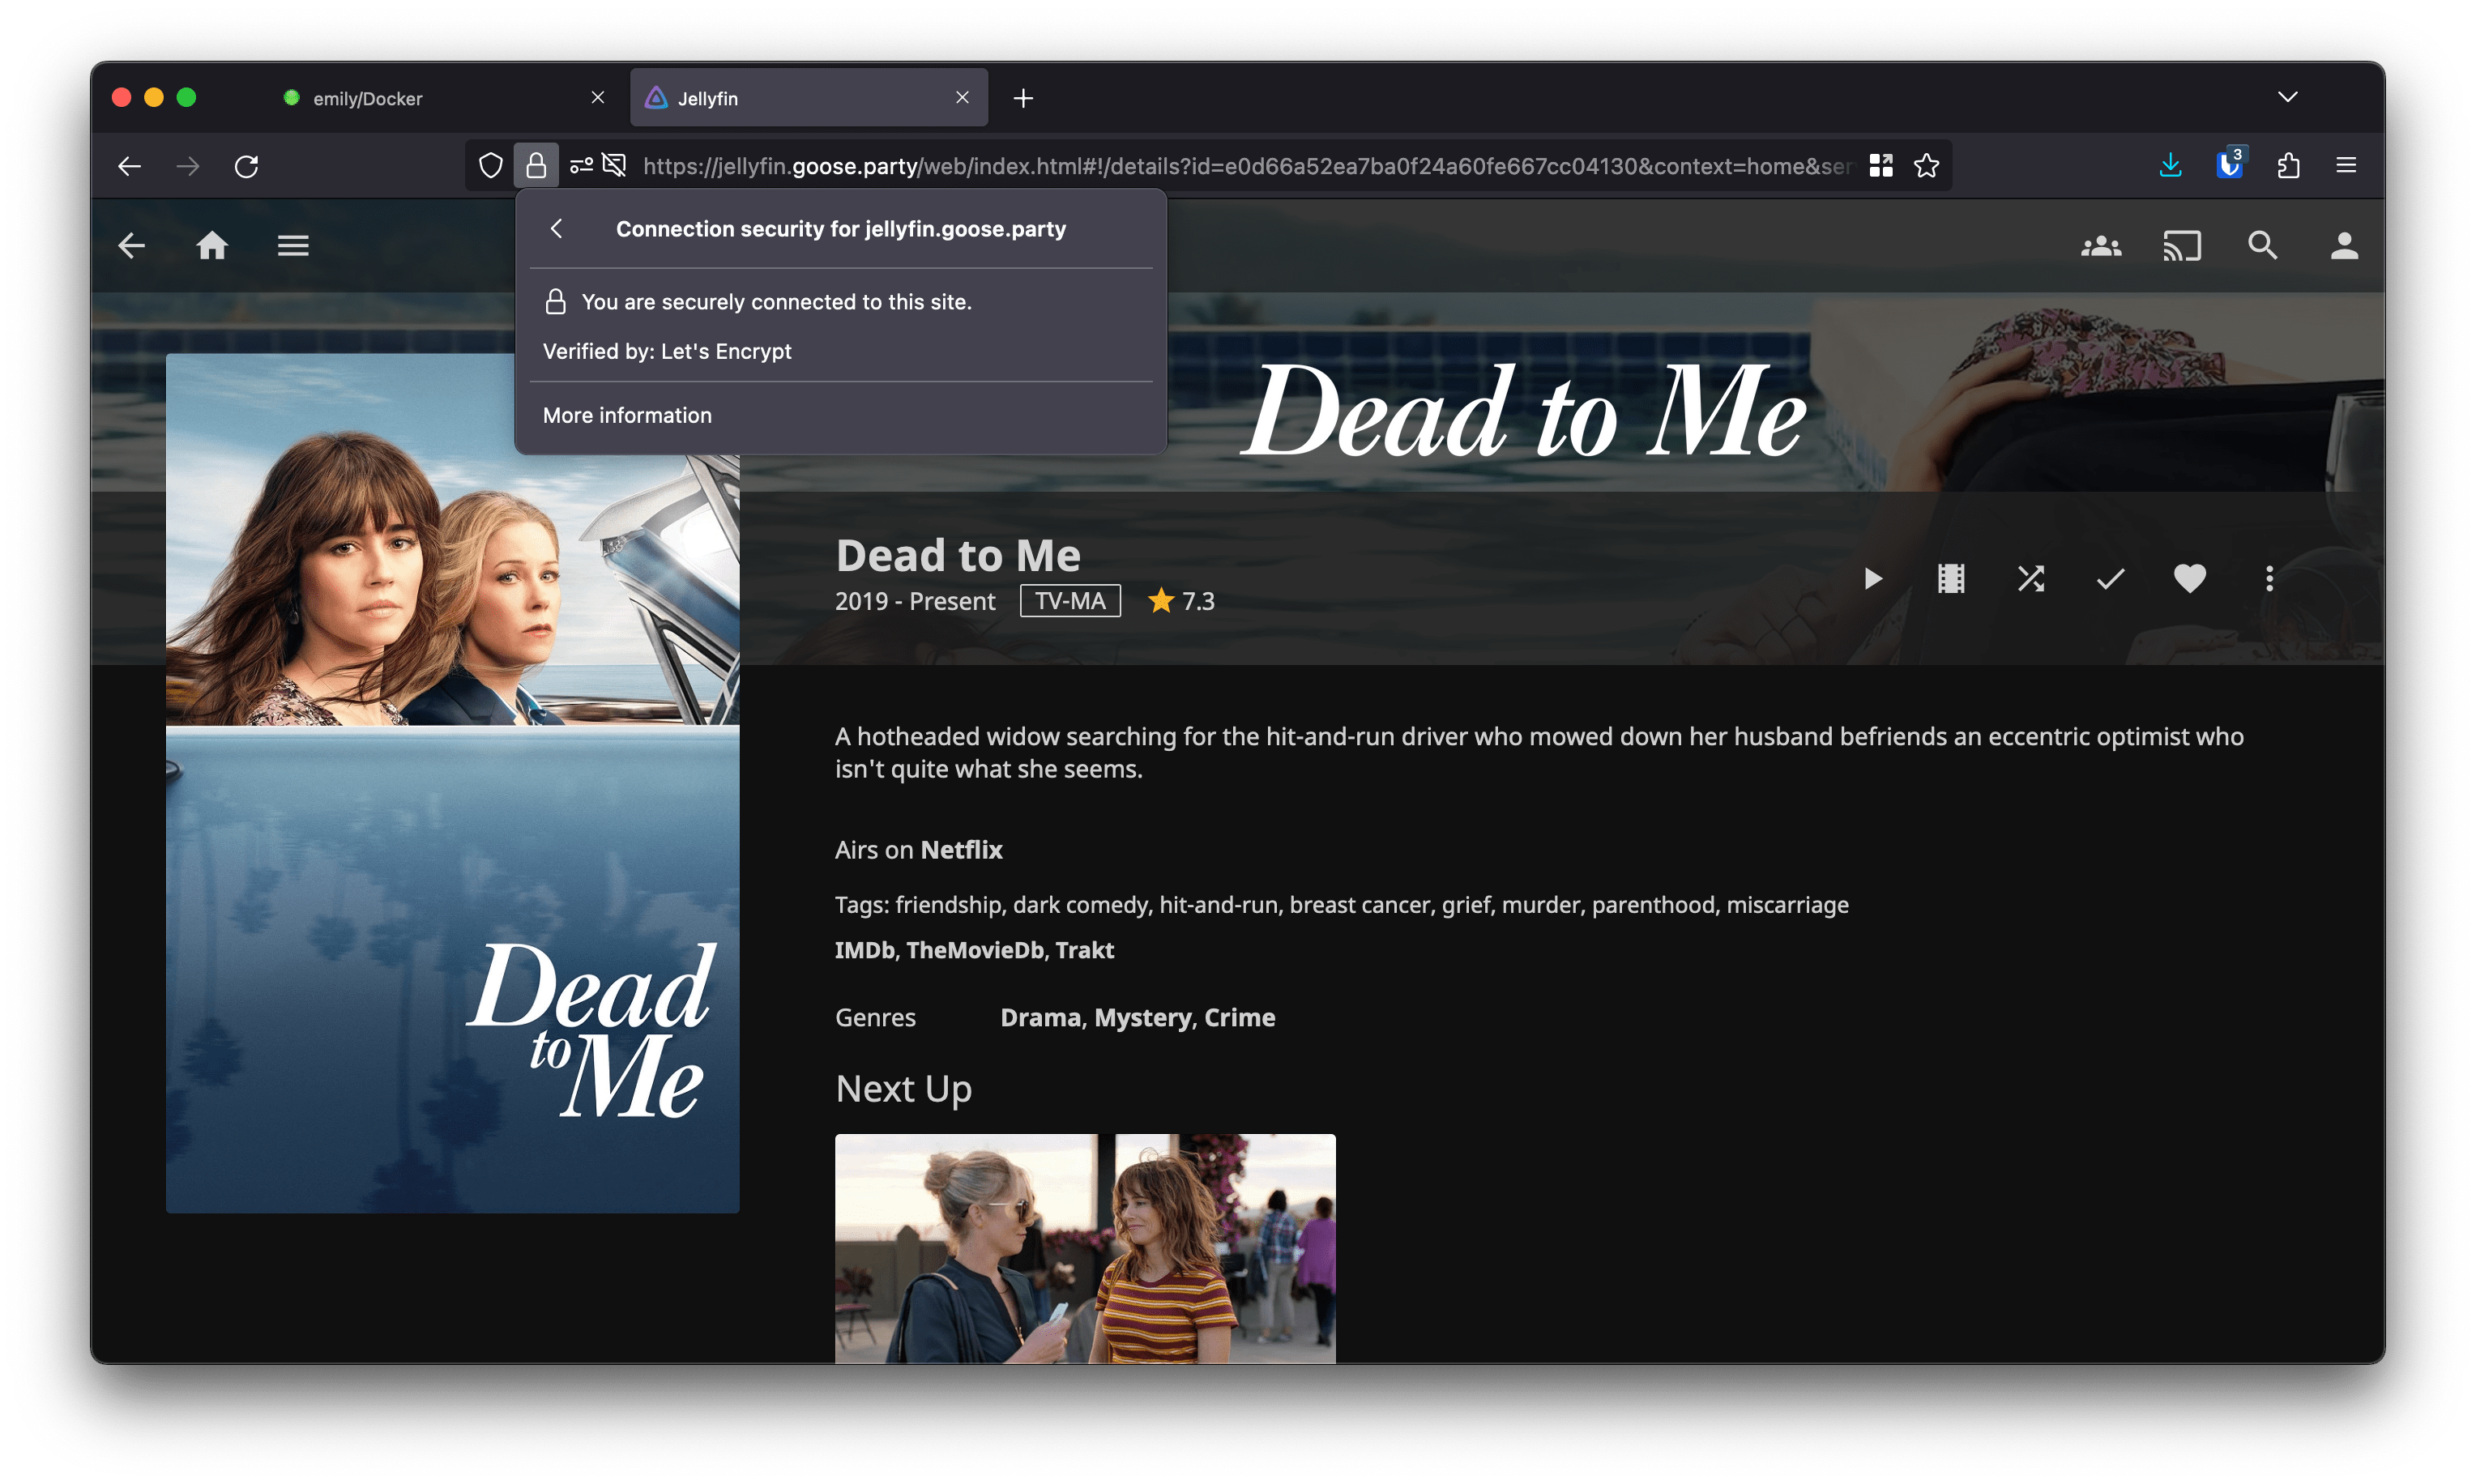
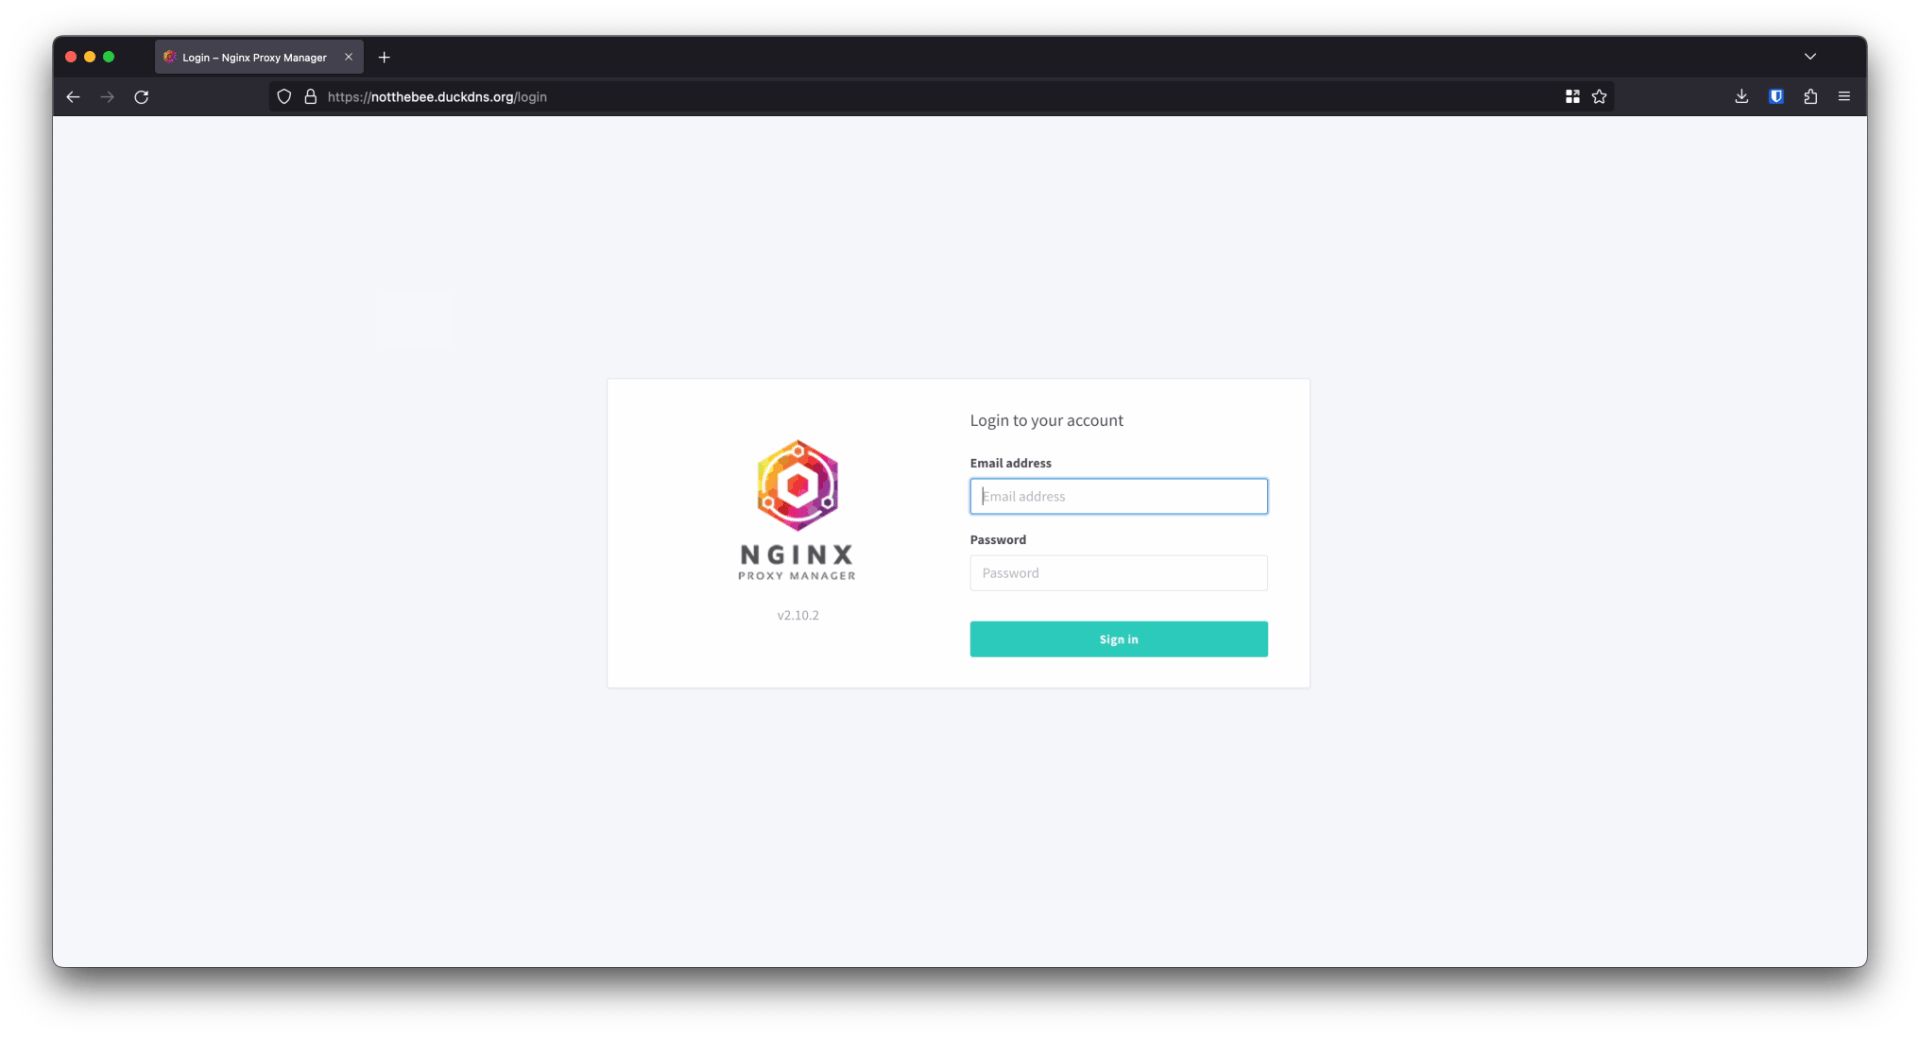
And that's it! Navigate to the domain in the browser and you should see a lock in the address bar, and no SSL warning.
Repeat for every application that you'd like to access with your new domain :)
Nginx Proxy Manager
Nginx Proxy Manager has a lot of other cool features that I didn't mention in this post, such as:
- A full-fledged user management and ACL system, complete with an Audit Log and permissions
- Support for custom Nginx configuration snippets, HTTP streams
- Custom redirects and 404 pages
- And much more
Check it out and show some love: https://nginxproxymanager.com