Set up your own VPN at home with Raspberry Pi
2021-02-23

Requirements
- Globaly accessible IP address
- A router that supports Port forwarding
- Raspberry Pi 3 or newer
- microUSB (RPi 3) or USB-C (RPi 4) power supply
- microSD card (8GB or bigger, at least Class 4)
- Ethernet cable
- microSD USB card reader
- (optional) microHDMI (RPi 4) or HDMI (RPi 3) to HDMI cable
Downloading the software
This tutorial is based on Raspberry Pi OS, but you can use any Debian-based operating system that you prefer.
Raspberry Pi OS comes in Desktop and Lite flavors. You can download the former if you want to set Raspberry Pi up with a monitor, a keyboard and a mouse; or the latter, if you want to set it up "headlessly".
We will also need balenEtcher to write the OS image to the microSD card. Feel free to use dd or Rufus, if you're more comfortable with them.
Download Raspberry Pi OS: https://www.raspberrypi.org/software/operating-systems/
Download balenaEtcher: https://www.balena.io/etcher/
Writing the OS image to the card
After you have both Etcher and Raspberry Pi OS on your computer, you can now insert the microSD card into your computer. Then, launch Etcher, choose the Raspberry Pi OS image that you downloaded, select your microSD card and click "Flash".
After the flashing is done, you'll see a new volume in "This PC" menu called "boot". Go to that volume, create a new text file and call it "ssh" – be careful, it's not "ssh.txt", it's "ssh", without any extension. To do that, you need to have the "Hide extensions for known file types" option disabled in the File Exporer Options.
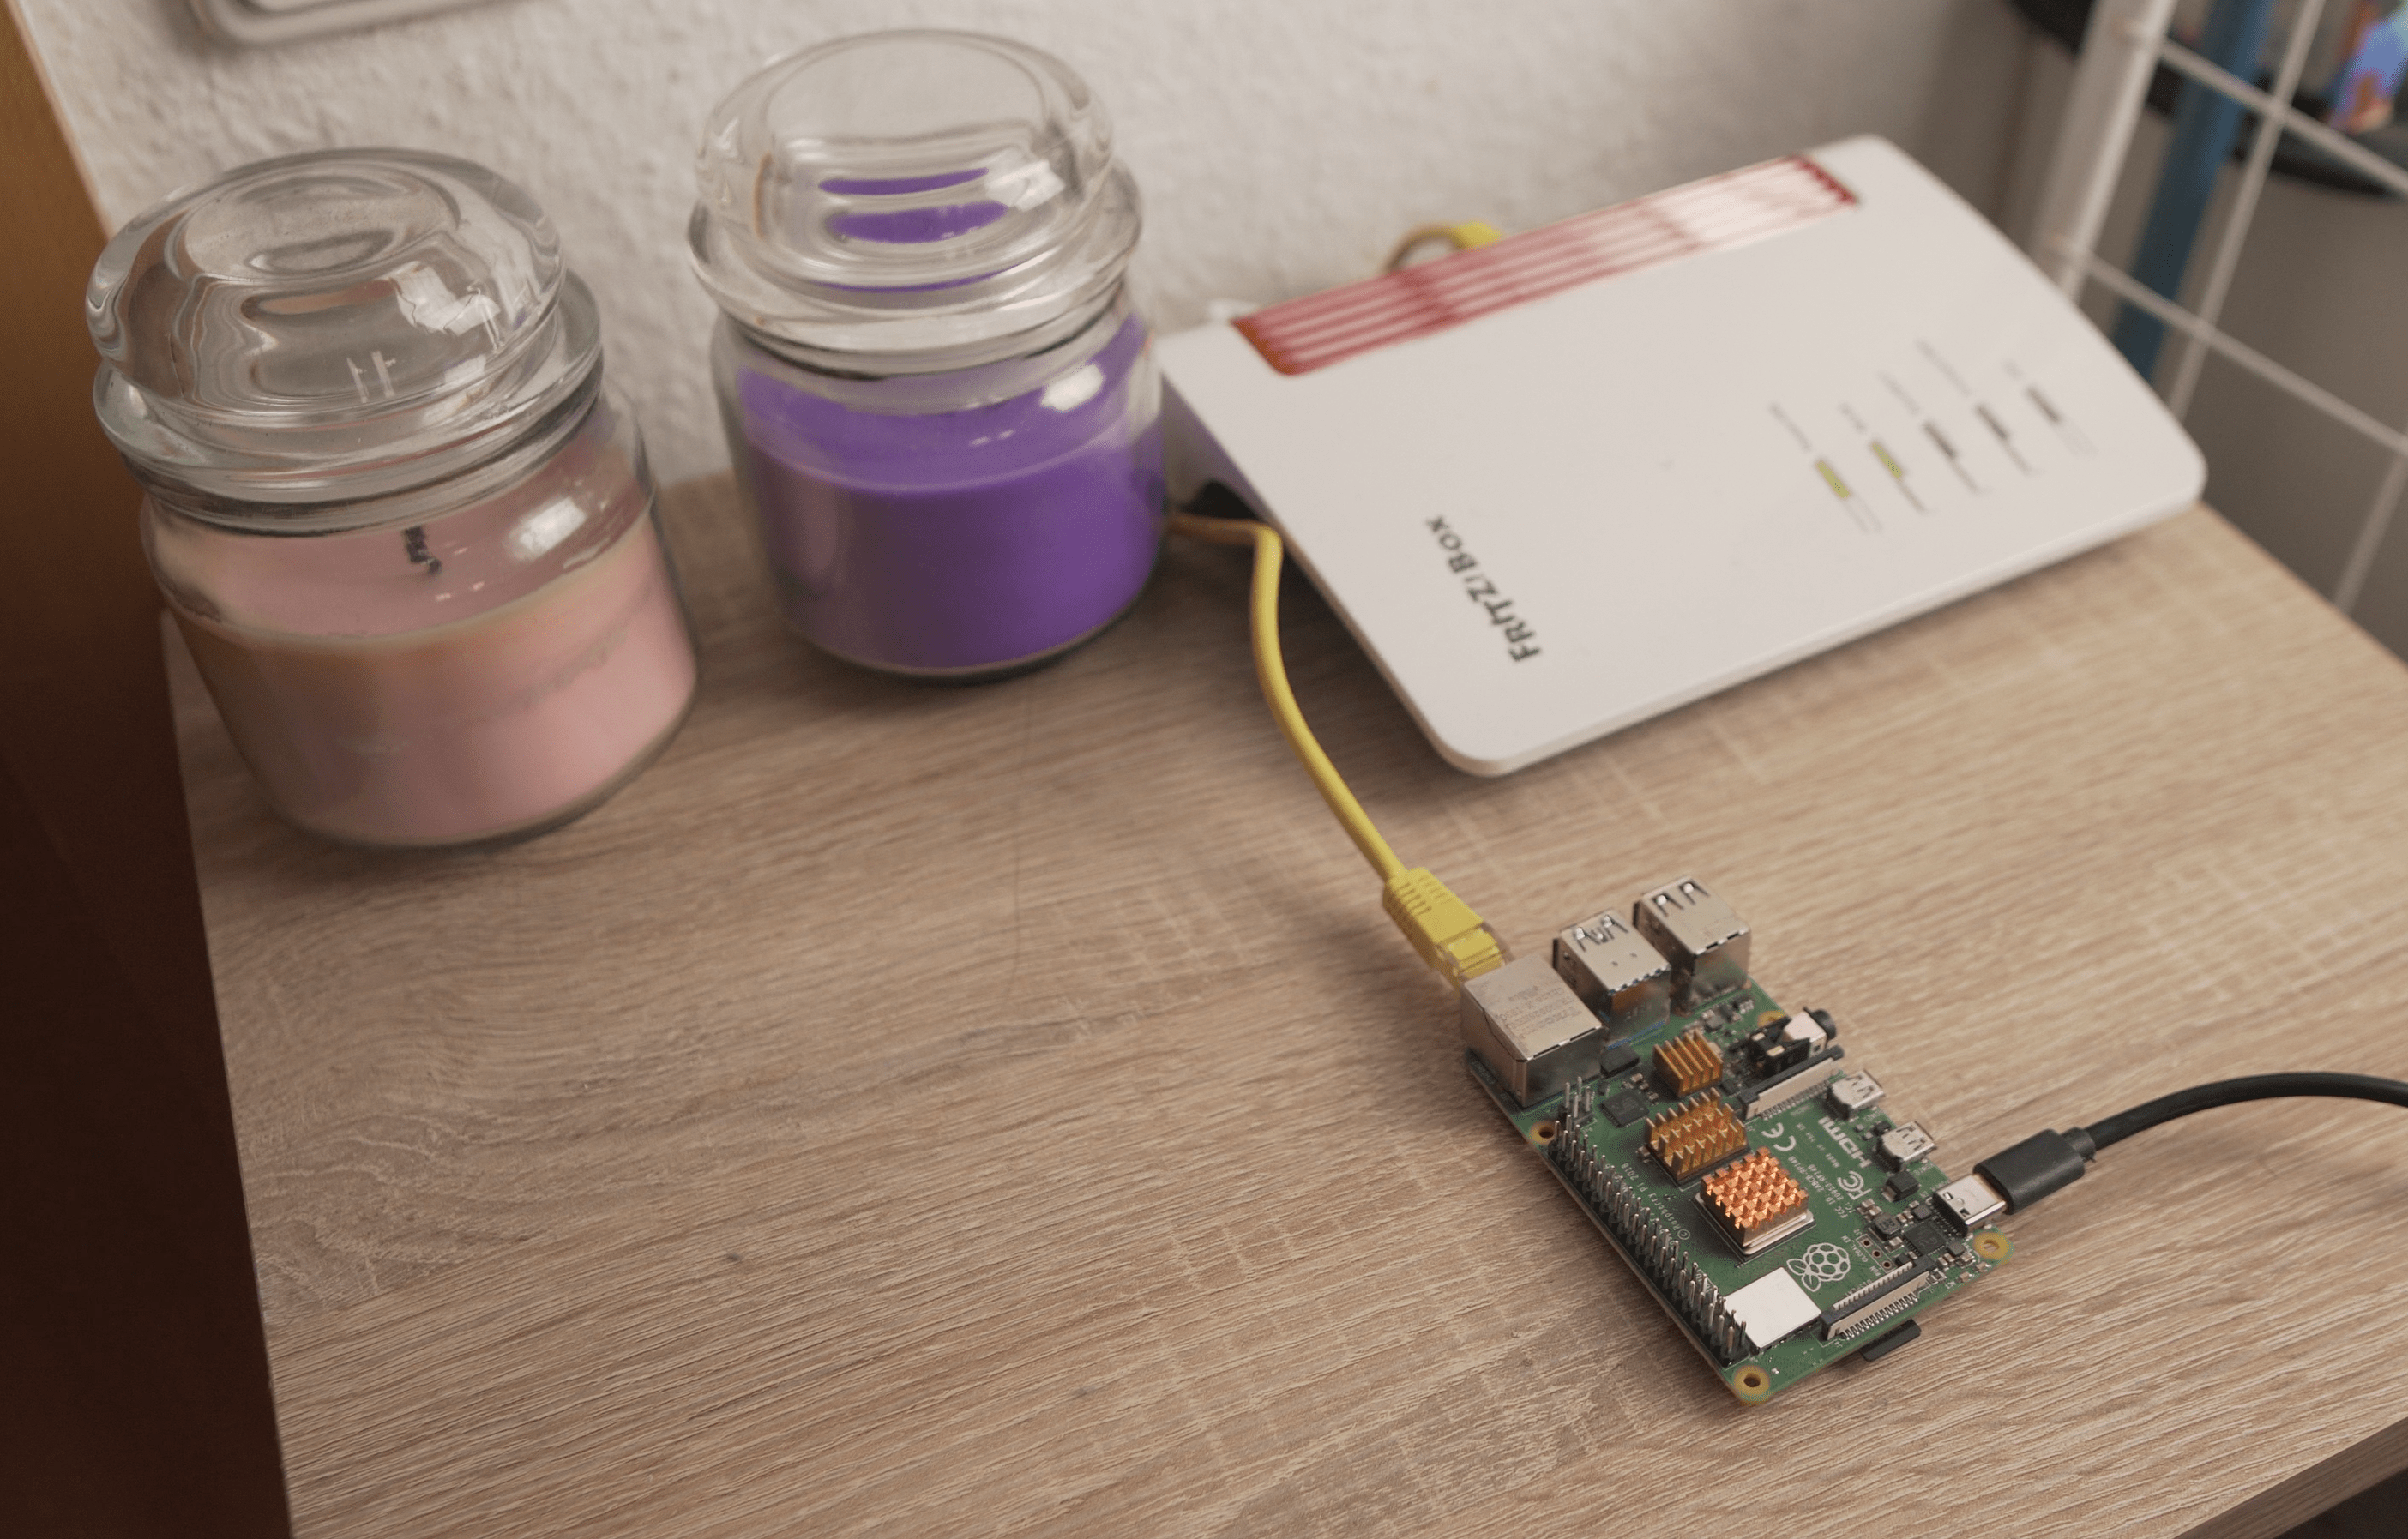
Booting up
With that done, you can now eject the microSD card from your computer. Now put the SD card into the Raspberry Pi, plug your Ethernet cable into the router and into the board, then finally plug the USB-C cable into it. In case you want to set your Raspberry Pi up with a monitor, you also need to plug in a monitor, a keyboard and a mouse into it at this point.
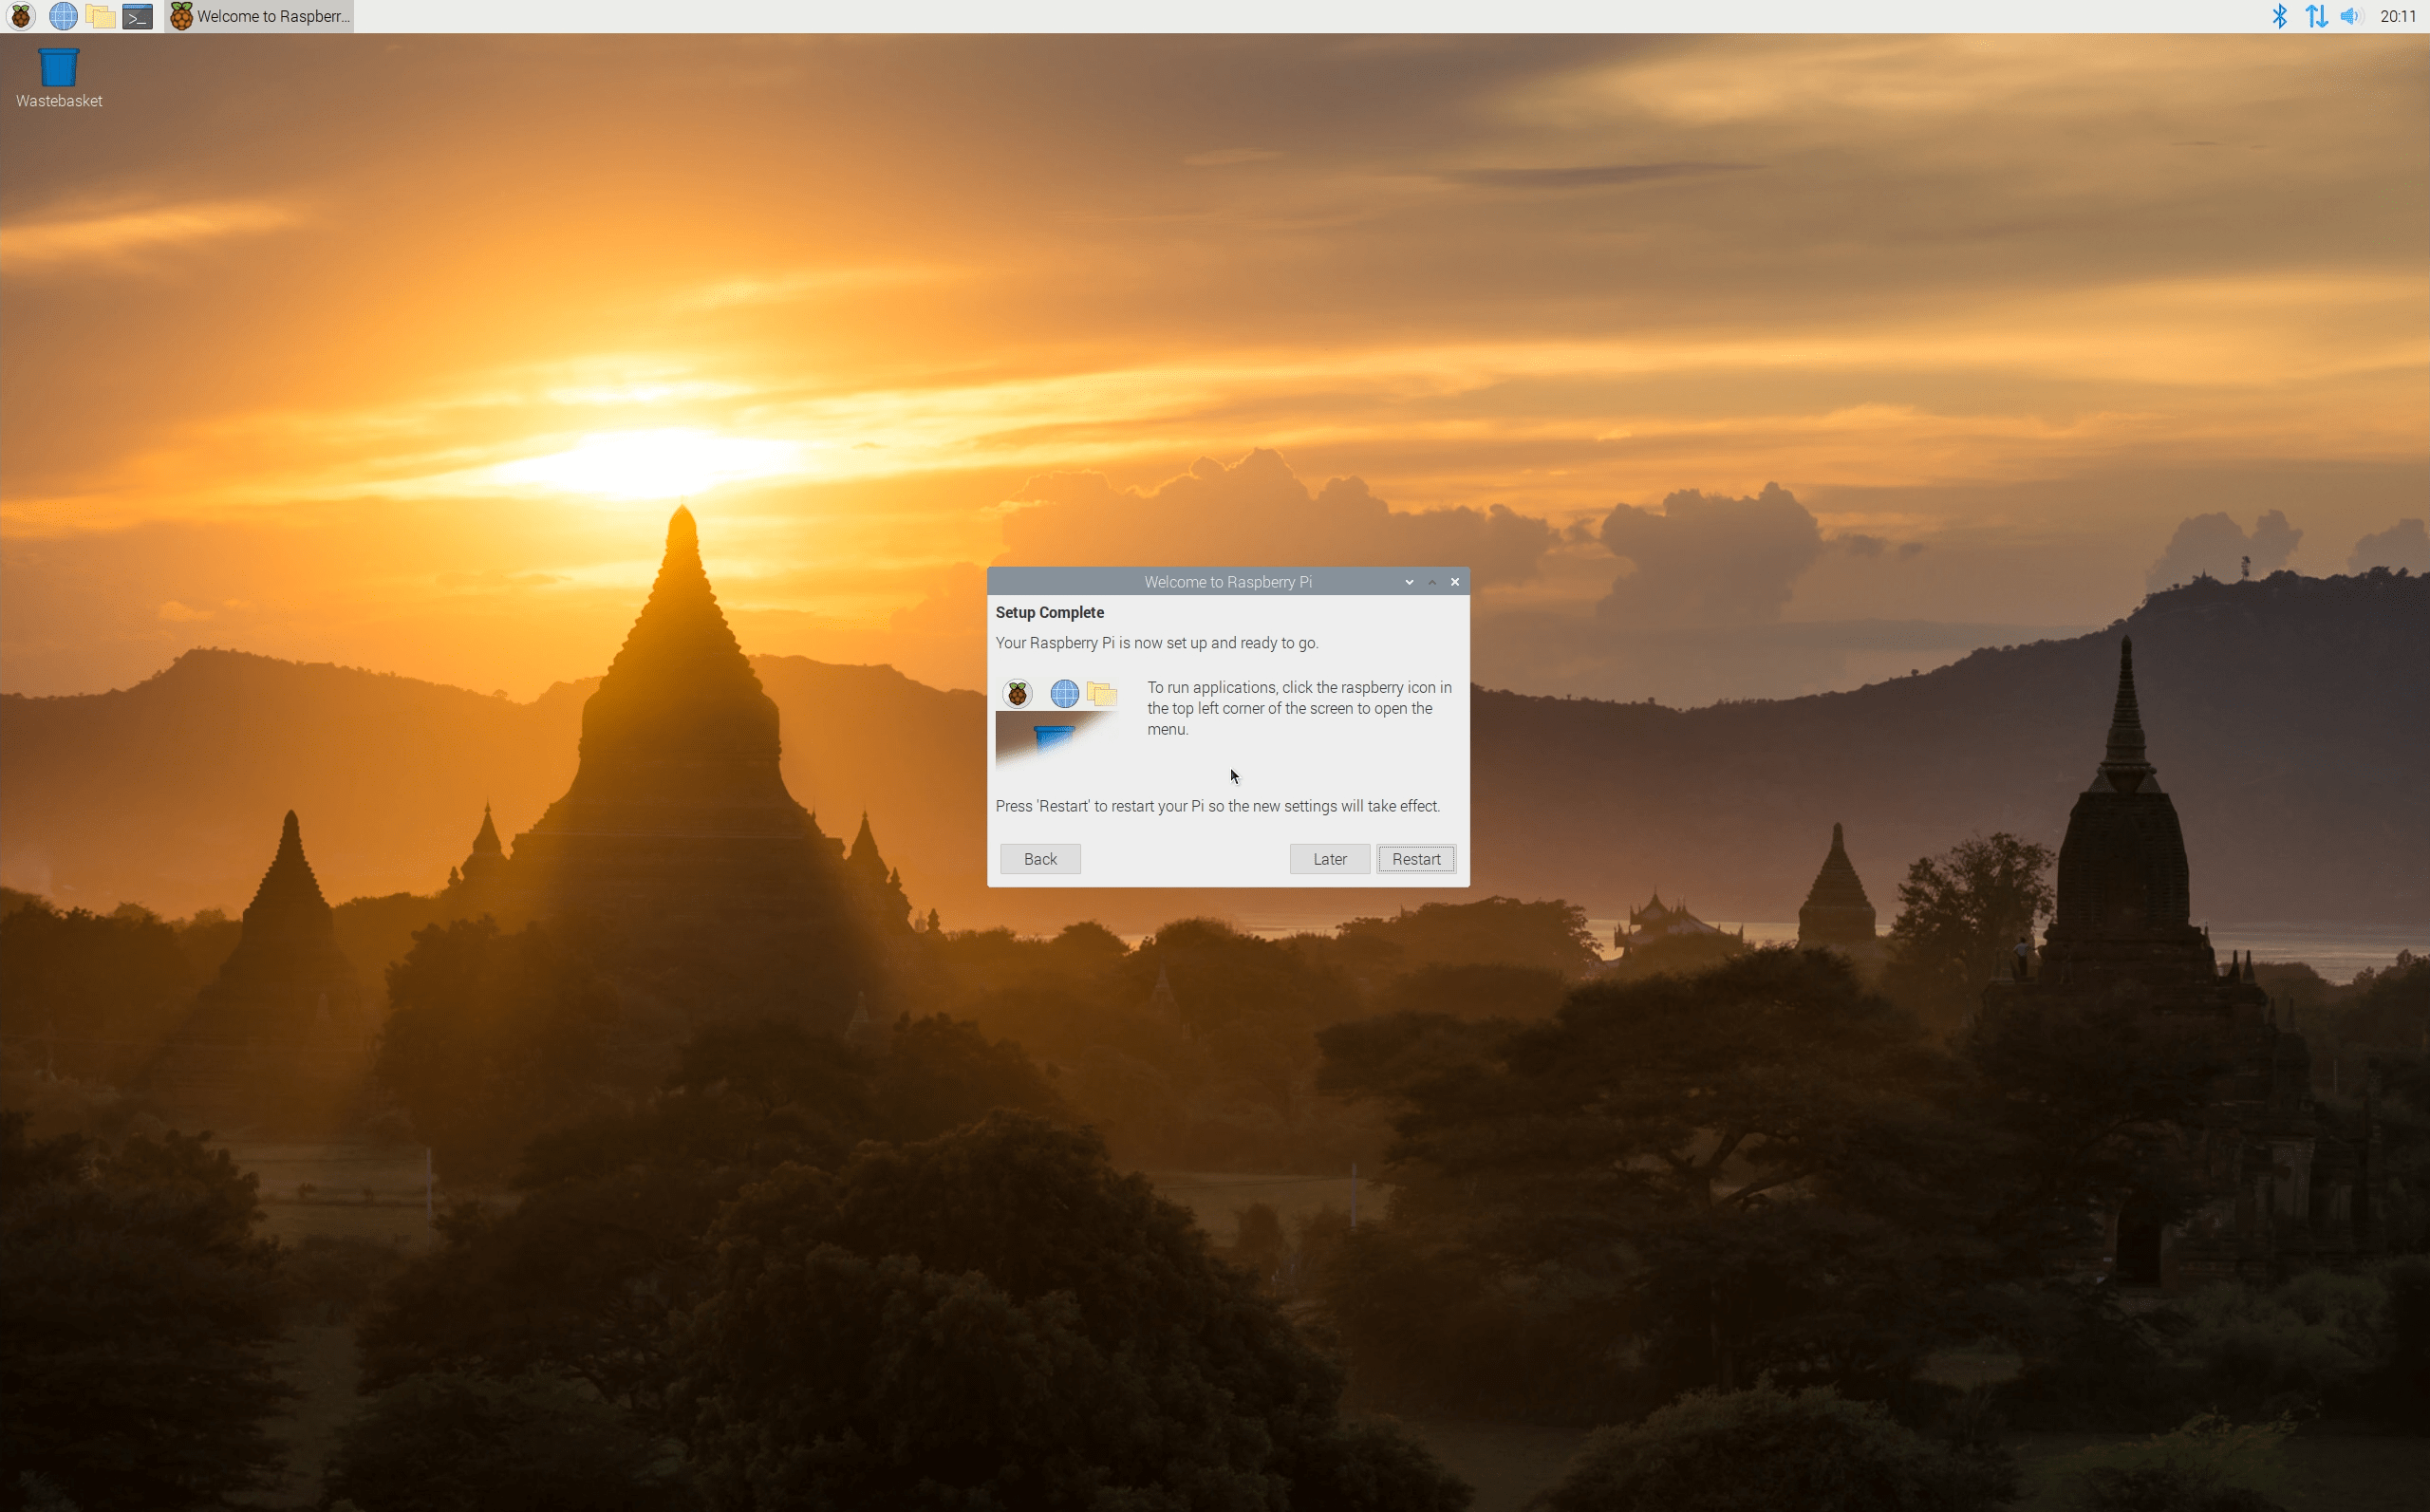
For monitor users
The initial setup wizard on Raspberry Pi OS will guide you through the initial setup process, including changing the password and installing the updates. Afterwards, the installer will prompt you to reboot the board – do it and skip to the "Dynamic DNS" section.
Logging into the system
Now you need to wait for about a couple of minutes while your little computer is booting up, and then let's open the browser again and go to the router's admin panel.
Go to the page that lists all of the devices connected to the network and copy the IP address of the Raspberry Pi (it will most likely have the hostname raspberry).
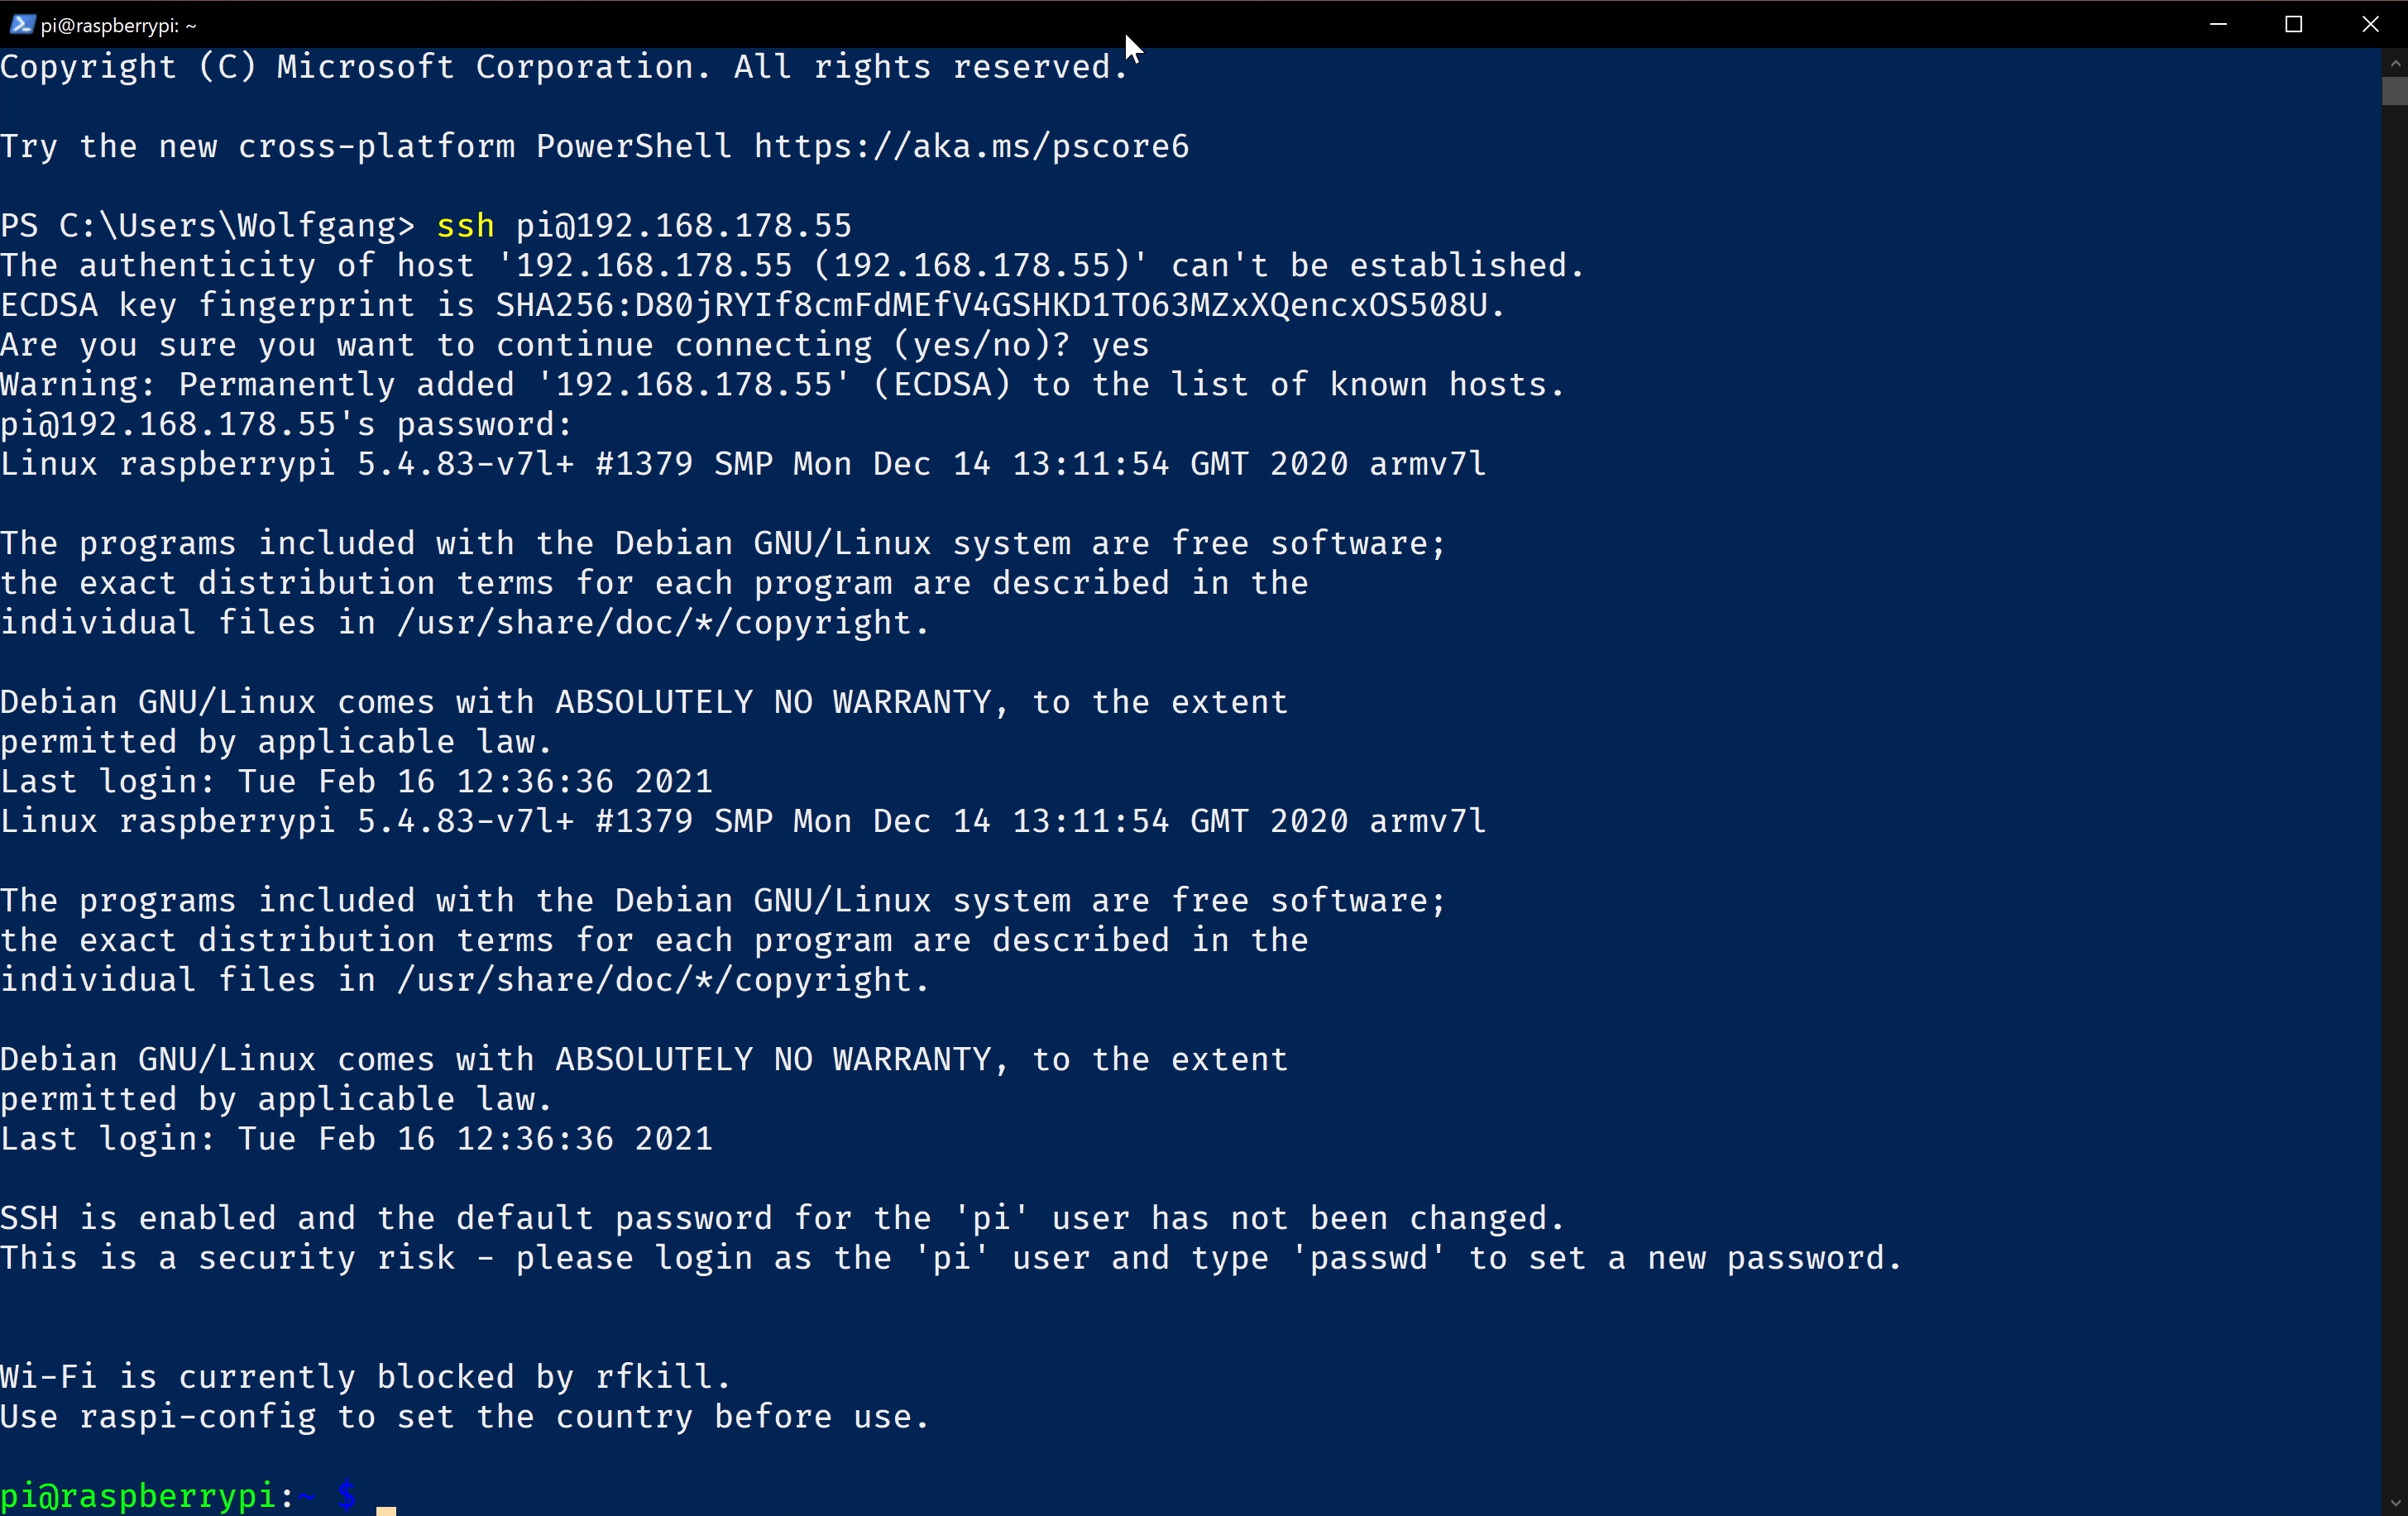
Next, open the Terminal on your host machine. You can use PowerShell on Windows.
Type the following command:
You can use right mouse button to paste text in Windows PowerShell.
Answer "yes" to the next question, and type raspberry when asked for a password. The password will not be shown on the screen, not even the asterisks, and that applies to all of the password fields in the Linux command line interface.
Changing the password
First thing we need to do is change the default password to something more secure. We won't be setting up public-key authentication in this tutorial, since the SSH port isn't going to be exposed to the Internet. If you'd like to know more, check out this tutorial from Digital Ocean.
In order to change the password you need to type passwd , type your current password (raspberry), and then type your new password twice.
Installing updates
Next thing we're gonna do is updating our operating system to all the latest versions of software. For that, type:
&&
After the installation is complete and you see the green command prompt again, type sudo reboot to reboot the board.
Setting up dynamic DNS
Now that all of the preparations are finished, we need to get ourselves a dynamic DNS hostname. Unless you're using a business broadband connection, your external IP address most likely changes dynamically every time your ISP feels like it. For that reason, we'll need to set up a dynamic DNS service. For this tutorial I'll be using a free plan from freedns.afraid.org . That being said, you can use any service you want, I'm not endorsing any particular one.
After registering on the website and activating your account via email, click on the "Add a subdomain". Here, the things we need to change are:
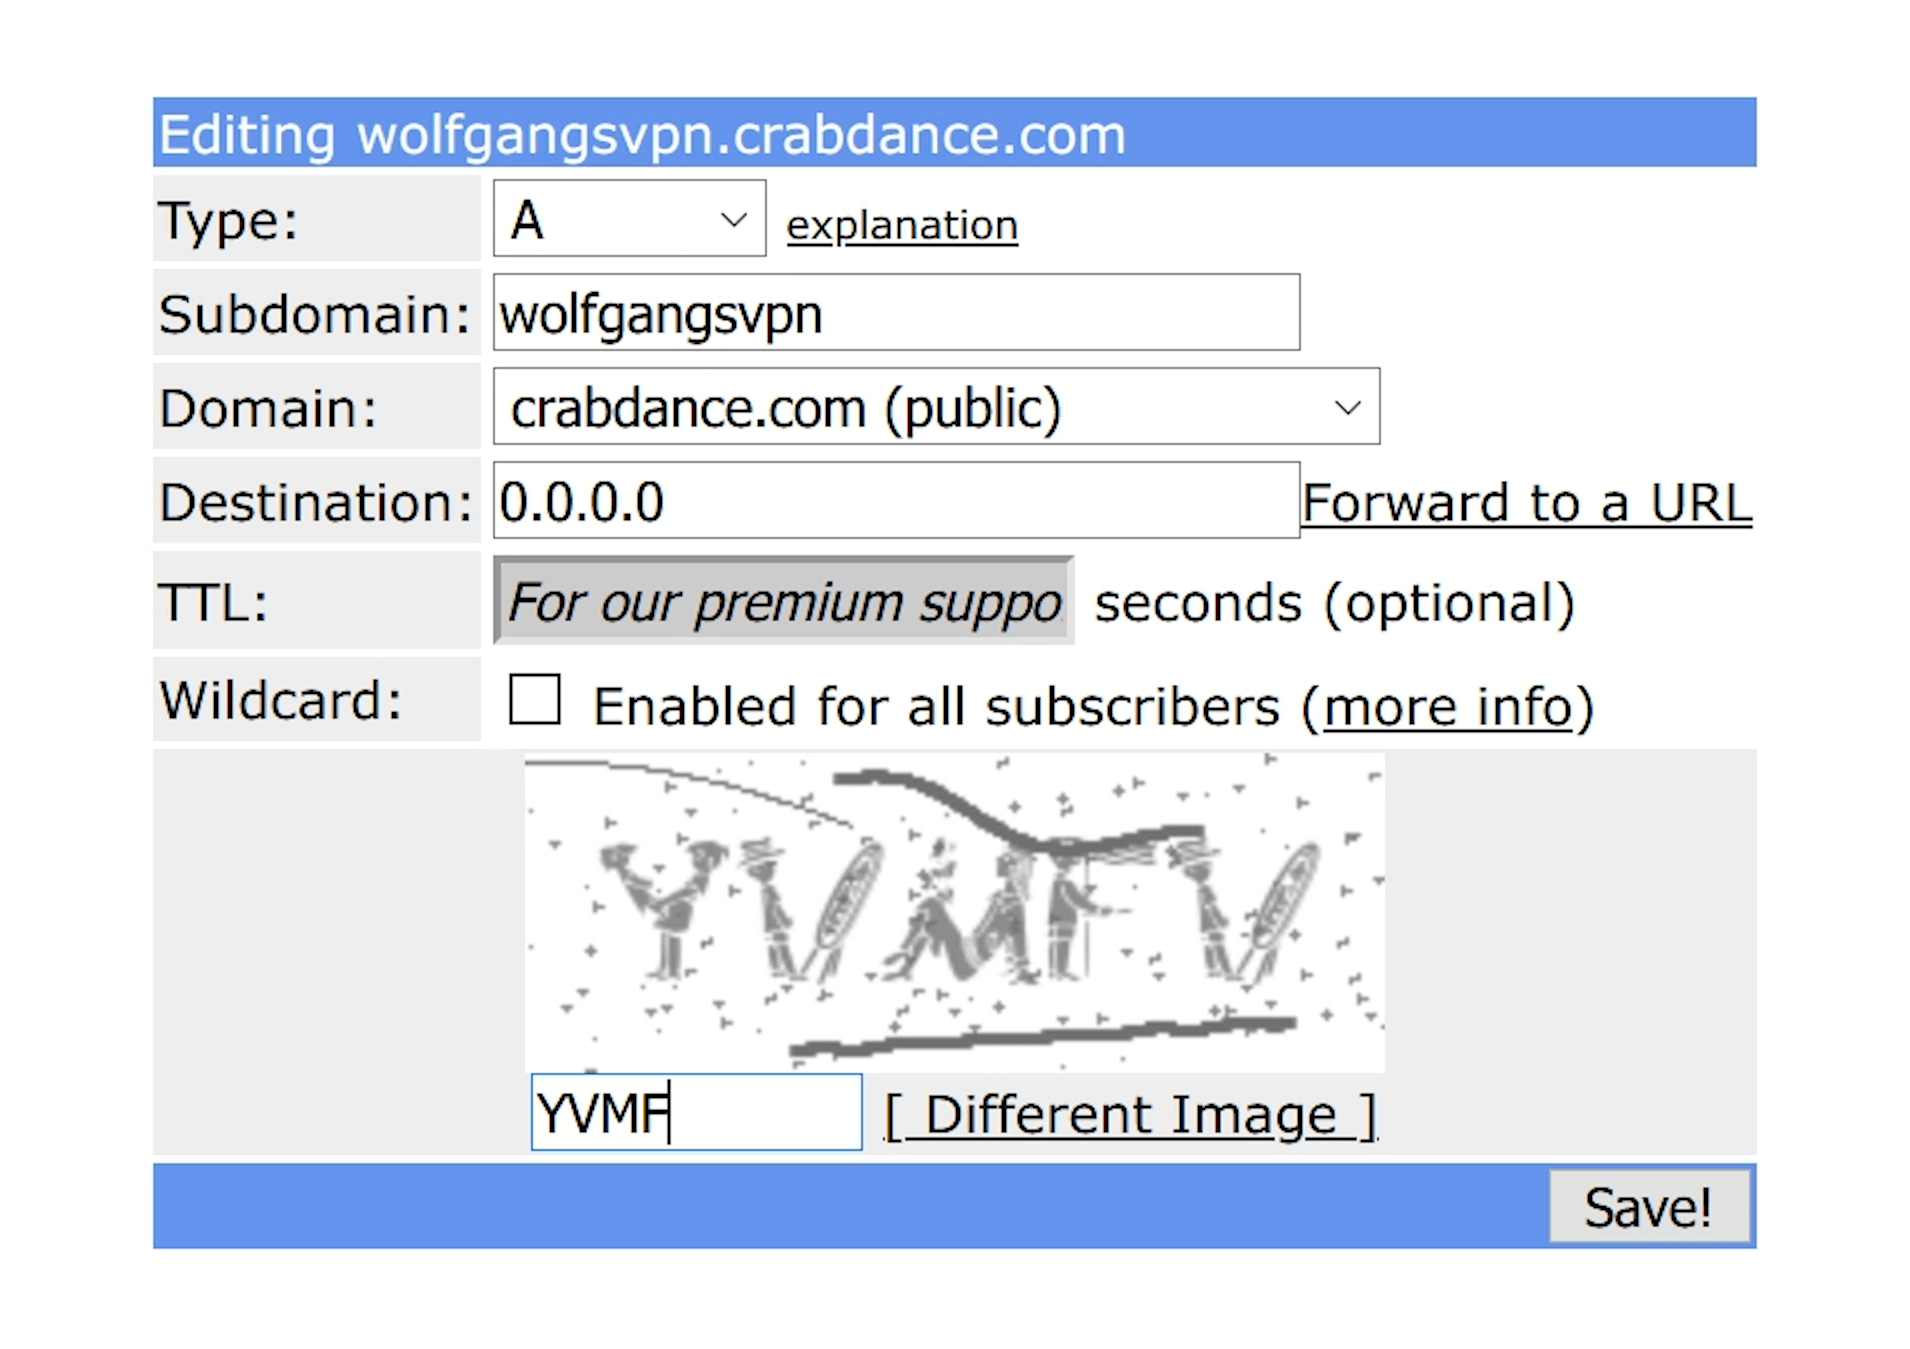
- Subdomain – put whatever you want here
- Domain – same
- Destination – by default it's going to have your current IP address in there, but you need to change it to 0.0.0.0 – that way we'll be able to test if our dynamic IP assignment software actually works.
- After that, type in the captcha and click on "Save!".
Installing and setting up ddclient
Now we need to log back in to our Raspberry Pi, by typing this command in the PowerShell or Terminal:
Pro-tip: You can also press ↑ and that will give you the last command you entered. Next, enter the new password that you created earlier.
Now we need to install a piece of software called ddclient:
and press Enter. It's going to ask you for some things so just pretend you don't know anything by typing "Enter" until it gives up.
Now we need to tell ddclient which address it needs to update:
Let's just delete all of the lines in the file and replace them with this:
daemon=5m
timeout=10
syslog=no # log update msgs to syslog
#mail=root # mail all msgs to root
#mail-failure=root # mail failed update msgs to root
pid=/var/run/ddclient.pid # record PID in file.
ssl=yes # use ssl-support. Works with
# ssl-library

use=if, if=eth0
server=freedns.afraid.org
protocol=freedns
login=YOUR FREEDNS LOGIN
password=YOUR FREEDNS PASSWORD
your.freedns.domain
After that's done press Control+O to save the file and Control+X to exit.
Another file that we need to edit is /etc/default/ddclient. Here we need to change everything to false except for the run_daemon option. This one we need to change to true. Once that's done, Control+O, Control+X.
Now that all of the configuration is done, let's restart the ddclient service:
Let's check the service status now:
sudo systemctl status ddclient
Feb 16 15:05:25 raspberrypi ddclient[1806]: WARNING: Connection: close
Feb 16 15:05:25 raspberrypi ddclient[1806]: WARNING: Vary: Accept-Encoding
Feb 16 15:05:25 raspberrypi ddclient[1806]: WARNING: Cache-Control: no-store, no-cache, must-revalidate
Feb 16 15:05:25 raspberrypi ddclient[1806]: WARNING: Cache-Control: post-check=0, pre-check=0
Feb 16 15:05:25 raspberrypi ddclient[1806]: WARNING: Pragma: no-cache
Feb 16 15:05:25 raspberrypi ddclient[1806]: WARNING: Expires: Mon, 26 Jul 1997 05:00:00 GMT
Feb 16 15:05:25 raspberrypi ddclient[1806]: WARNING: X-Cache: MISS
Feb 16 15:05:25 raspberrypi ddclient[1806]: WARNING:
Feb 16 15:05:25 raspberrypi ddclient[1806]: WARNING: Updated 1 host(s) your.freedns.domain to 13.37.420.69
Feb 16 15:05:25 raspberrypi ddclient[1806]: **FAILED: updating your.freedns.domain: Invalid reply.**
As you can see it actually says FAILED, but if you go back to our browser and refresh the page with the subdomain, you should see that 0.0.0.0 changed to your real IP address.
Finally, let's make sure ddclient starts automatically every time we power our Raspberry Pi on:
Setting up port forwarding
Set up a new port forwarding entry for Raspberry Pi in your router's administration panel. The settings are as follows:
- Device: Raspberry Pi's hostname or IP
- Protocol: UDP
- Port range: 51820-51820
- Outgoing port: 51820
- Permit Internet access: yes
Here's what the settings look like on a FritzBox router:

Installing Wireguard VPN
Copy and the following command into the terminal (while logged into RPi):
&&
The script is going to ask you for the hostname that you want to use for the VPN – type your dynamic DNS domain that we created earlier.
For client name, just put any name you want, and for DNS, this is kind of personal preference – I personally use 1.1.1.1
Follow the instuctions on the screen further and wait until the installation is finished.
Important: You will need to add a new user for every device that you use with the VPN. To add a new user, simply re-run the script and follow the instructions.
Connecting to the VPN from a phone
Install the Wireguard app from Google Play or App Store
Wireguard (Google Play): https://play.google.com/store/apps/details?id=com.wireguard.android
Wireguard (App Store): https://apps.apple.com/us/app/wireguard/id1441195209
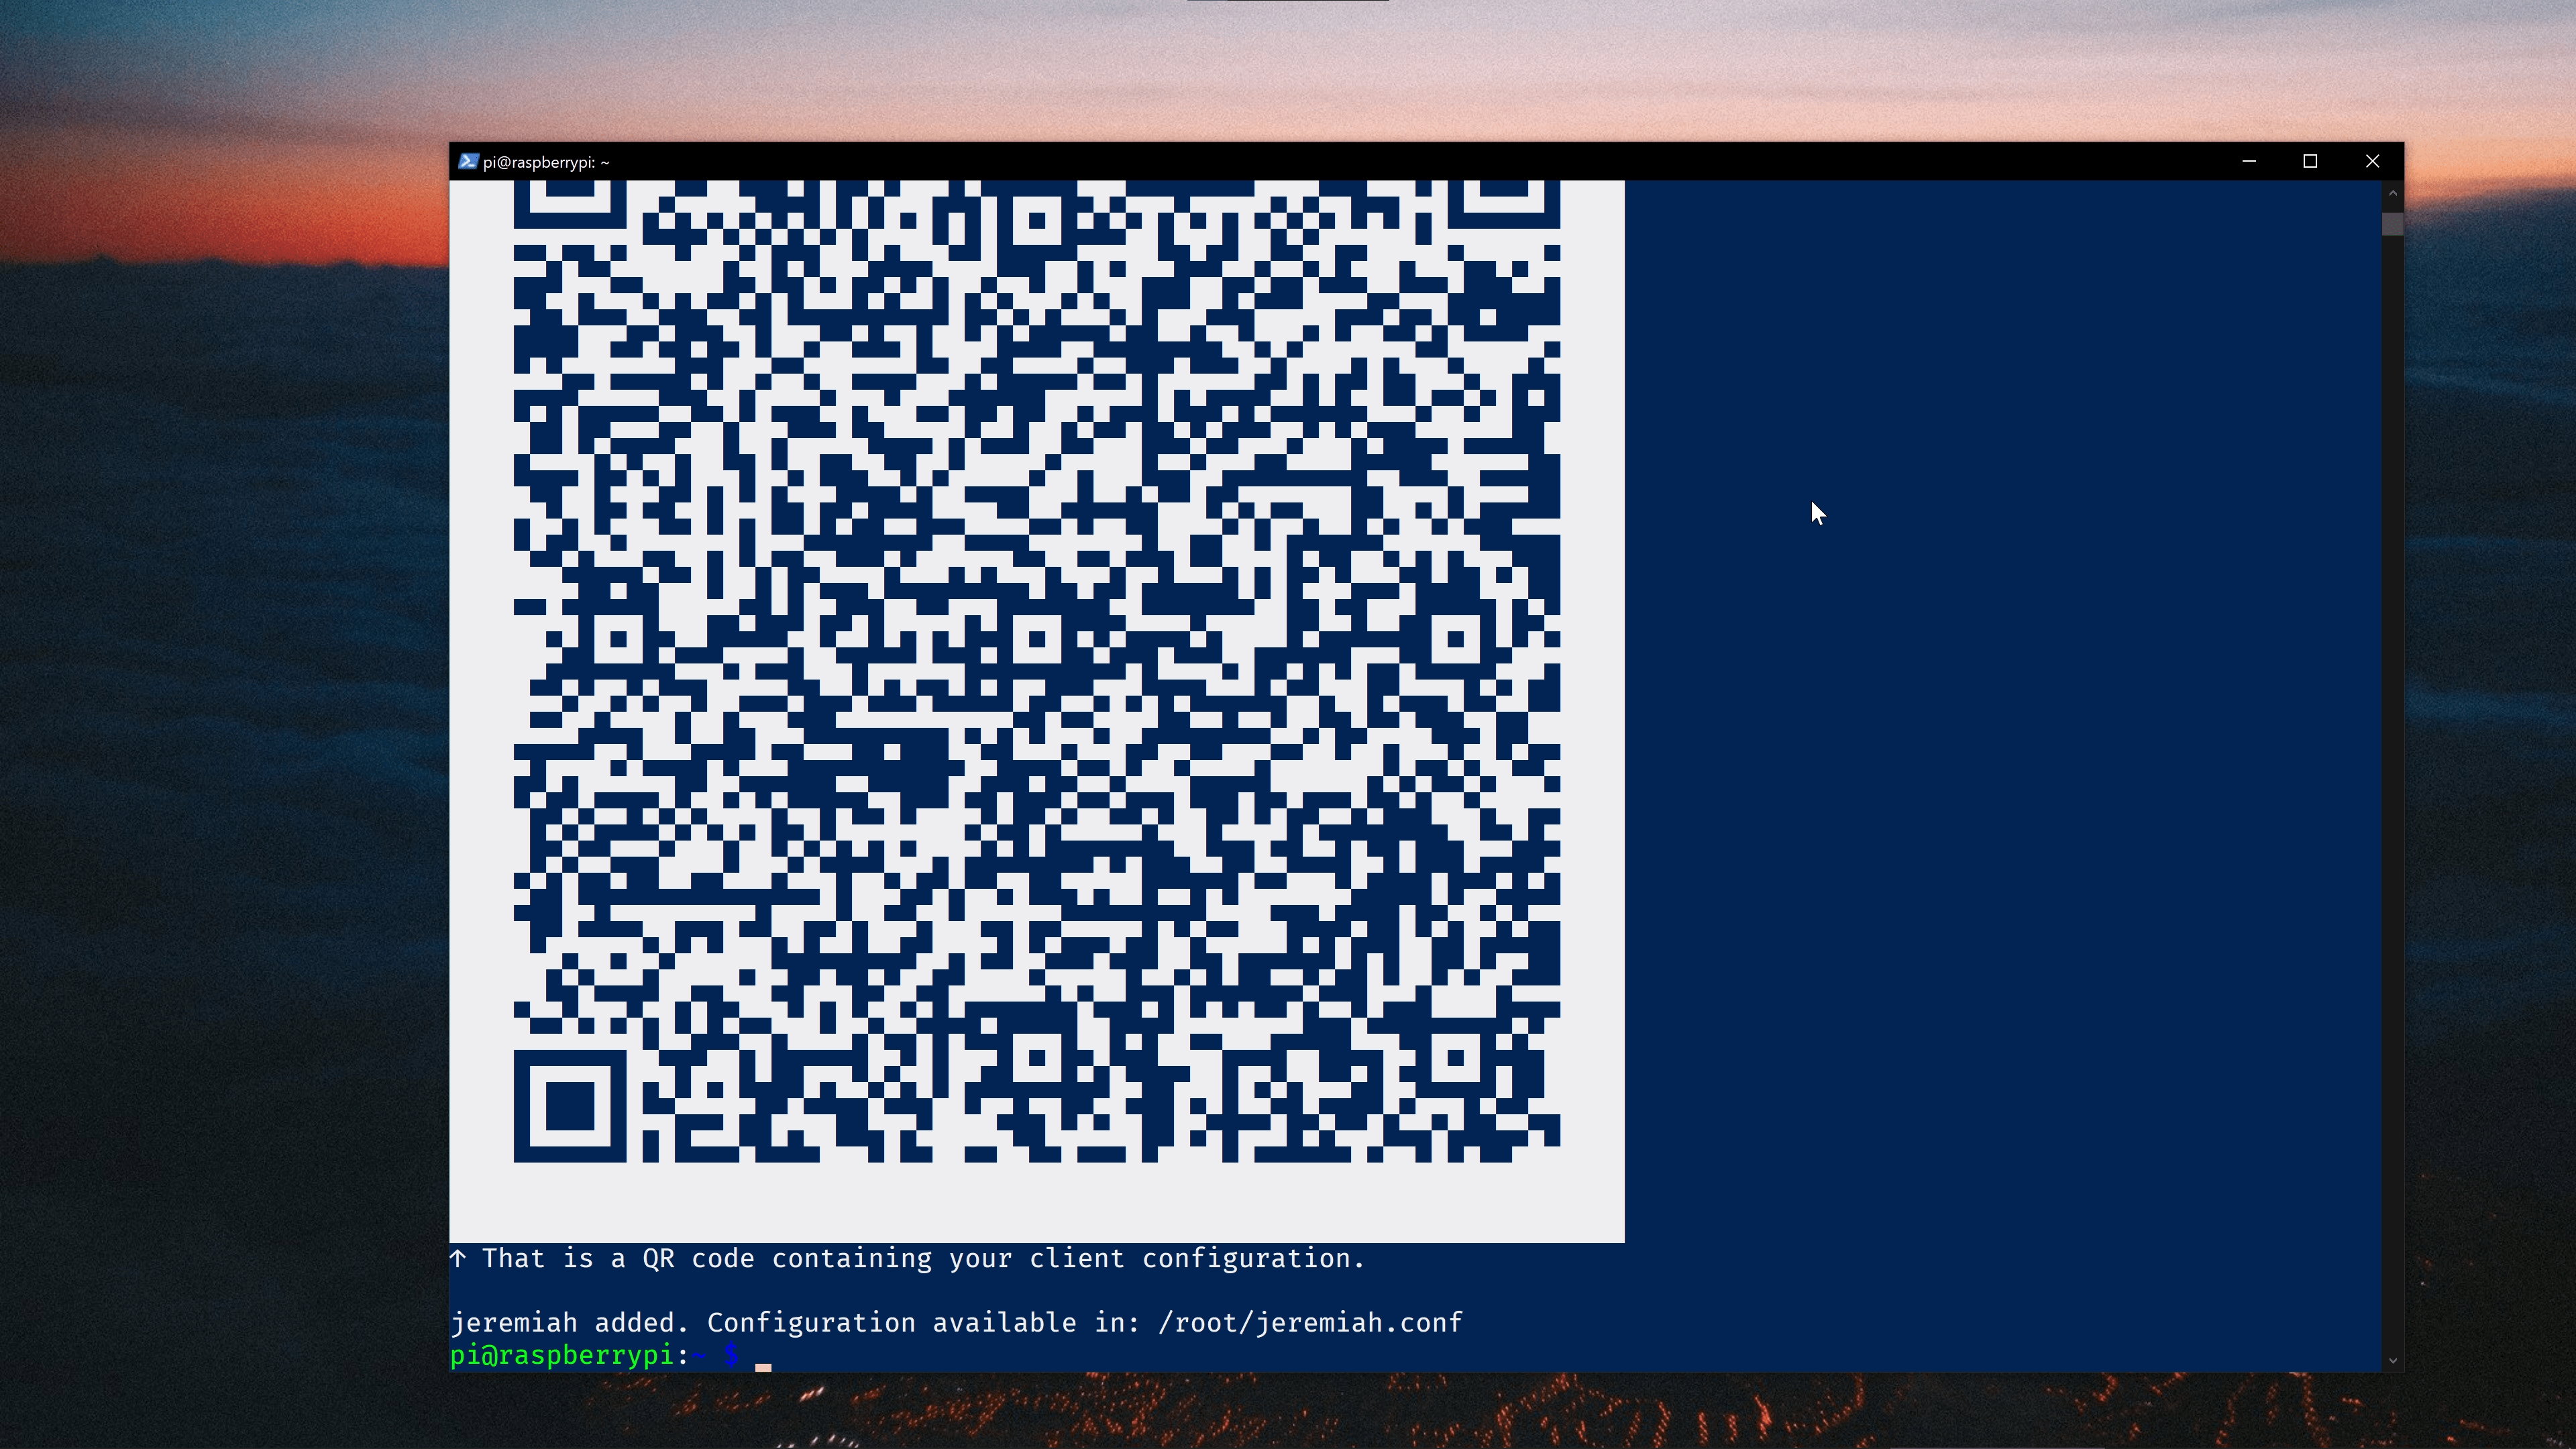
Scan the QR code shown in the terminal using the function Create from QR code in the app.
Disconnect from the WiFi and test the VPN connection using cellular network. Your can check your external IP address here.
Connecting to the VPN from a PC (Windows)
Connecting to our VPN from a computer requires a few additional steps.
First, we need to move the configuration files to our home directory. For that, log in to the Raspberry Pi from the terminal, and type:
Create a folder for the Wireguard configuration files in Windows Explorer. Go to that folder, right-click on the empty space and click "Open a PowerShell window here". Press ↑ to get the latest command and replace ssh with sftp. Press Enter to execute.
After you've entered your password, you can now copy the configuration file to your machine. For that, type get *.conf and press Enter. After the file is copied, type exit to quit the sftp interface.
Now you can download the Wireguard desktop app and import the config file into it.
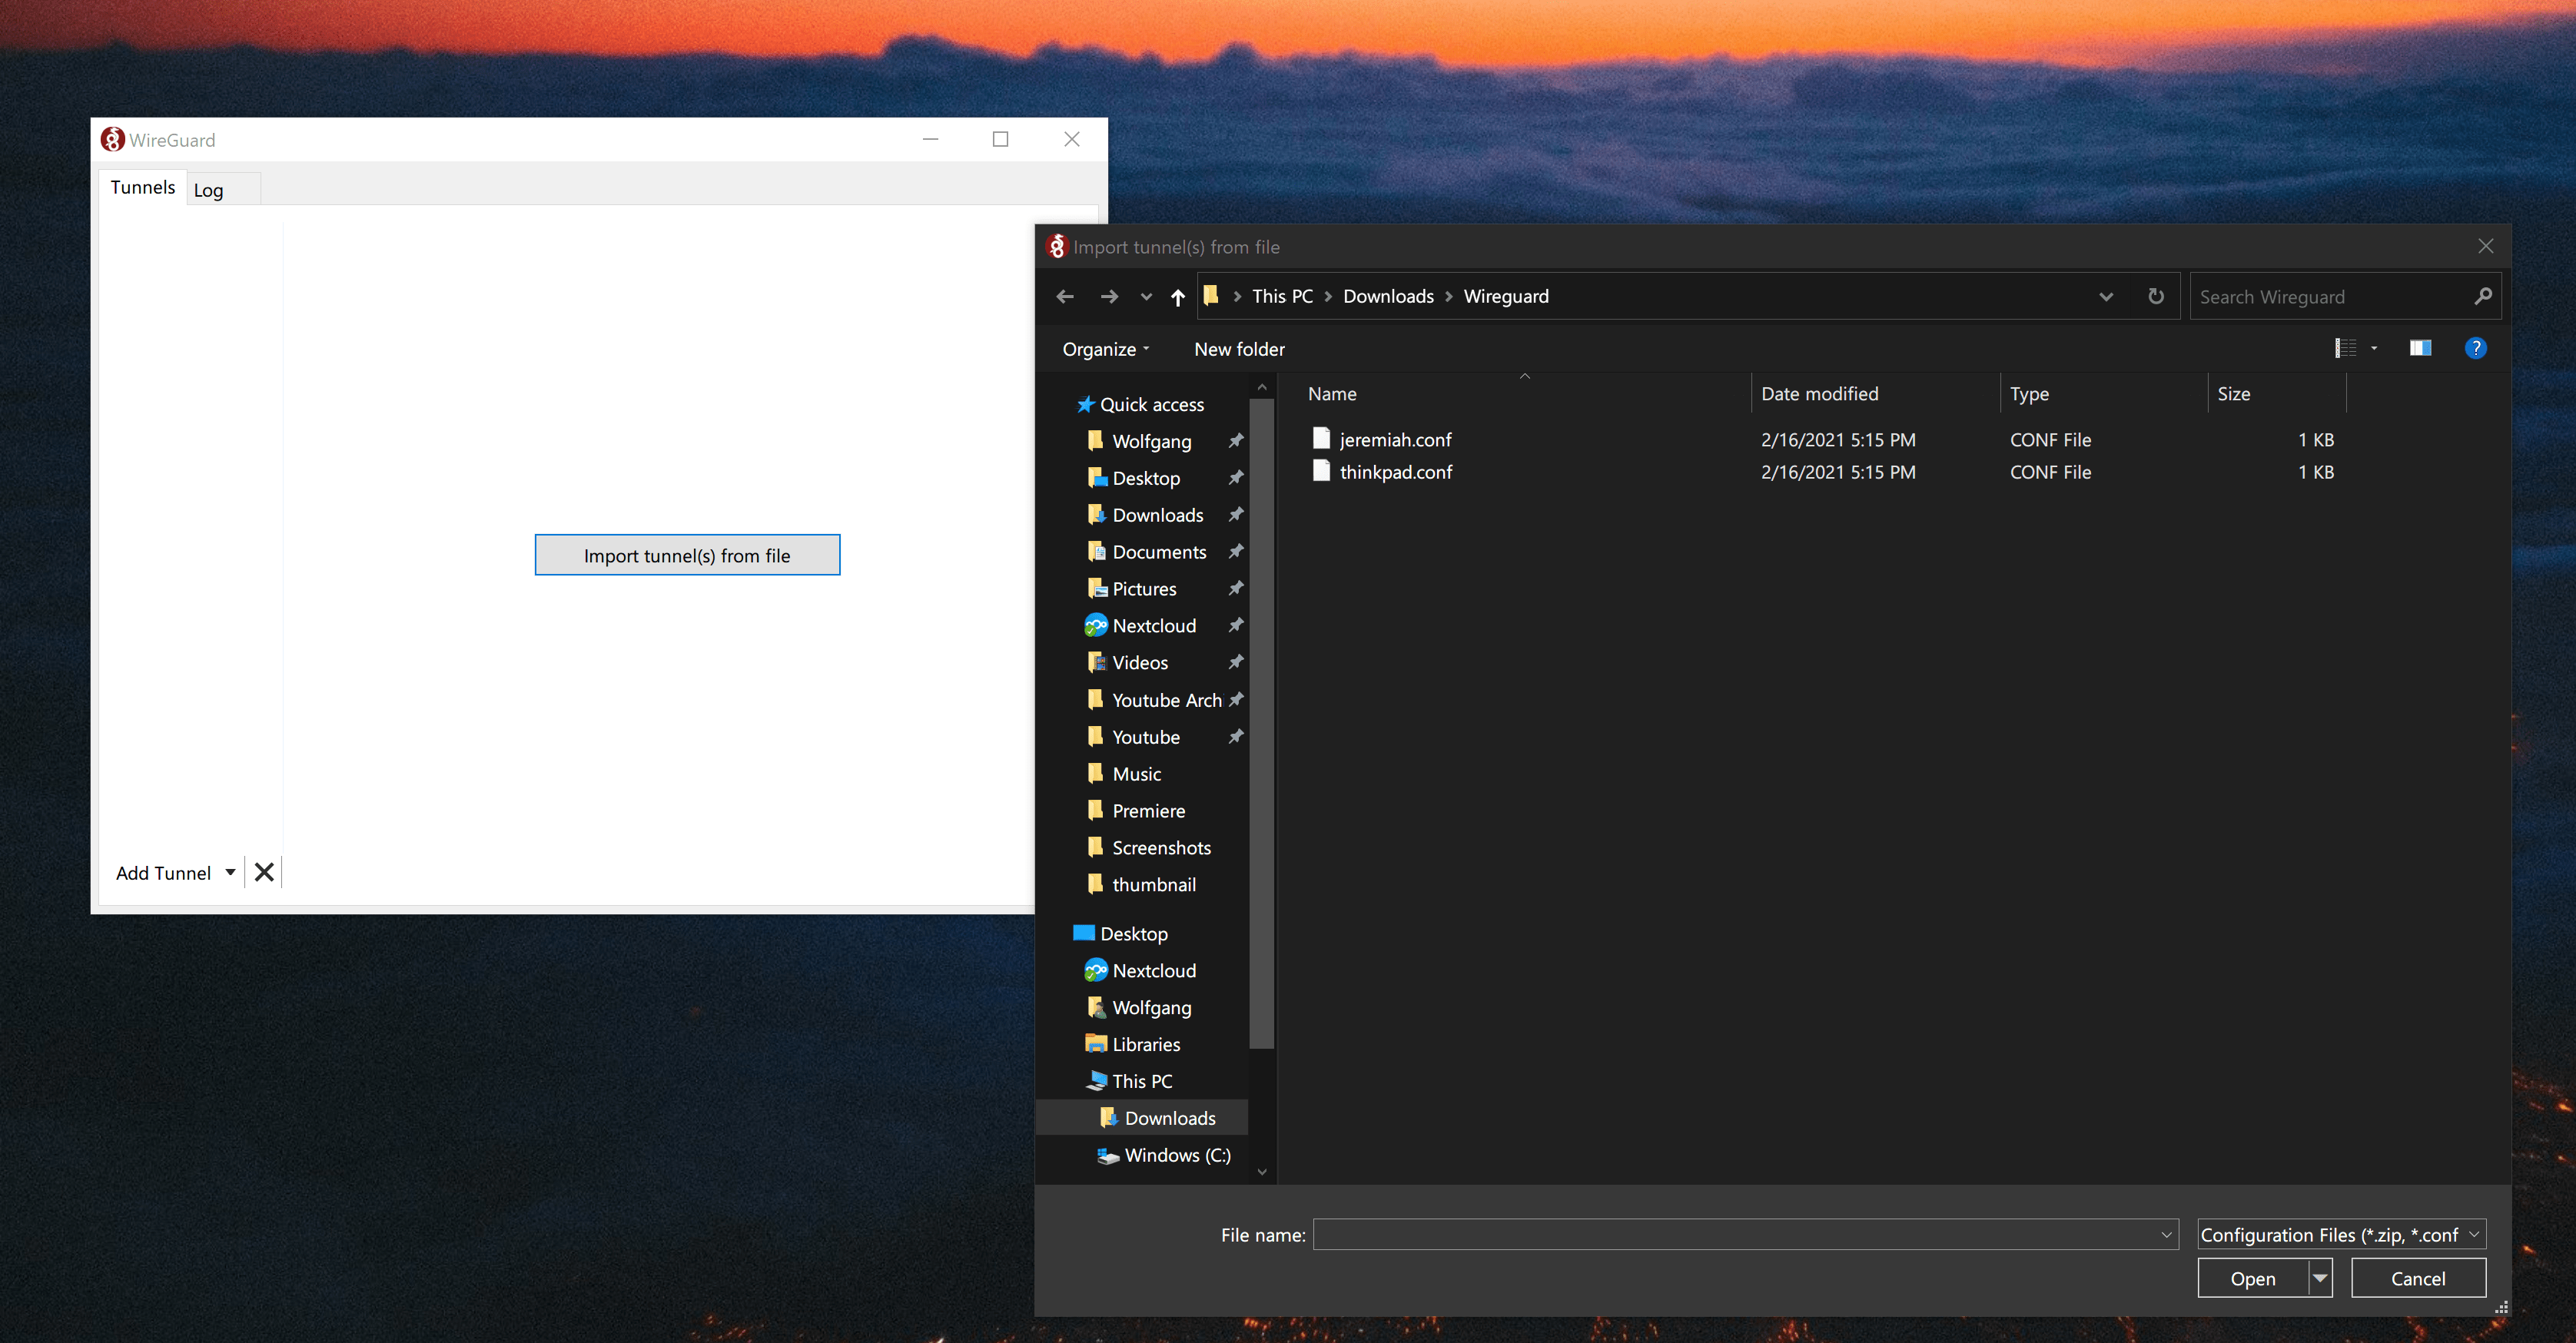
Wireguard client apps: https://www.wireguard.com/install/